DIY Holiday: Paint Chip Garland
‘Tis the season get creative with your holiday decorations!
Every year on November 1, my social media feeds begin to fill up with the year’s holiday decor trends. It feels like I am scrolling through video after video of perfectly curated, aesthetically pristine holiday homes that (while gorgeous and inspirational) can easily have me feeling like if I don’t go out and drop some serious coin in the holiday sections of Target and TJMaxx, what’s even the point of trying?
It’s so easy to get sucked into the amount of holiday content available to us at any given moment. And it’s just as easy to feel overwhelmed and defeated by the sheer volume of products and decor that we come so close to convincing ourselves will bring back the holiday magic we are all so nostalgic for, if we just press “add to cart”! But I’m done falling for it. Jeff Bezos does not need anymore of my hard earned money!
I mean…?! Ya just can’t buy this kind of cuteness!
So this year, I’m making a conscious effort to give my attention to my own holiday home, put my phone (and my credit card) down, and get creative making decorations with all the things I already own - and I encourage you all to do the same! Bonus points if you can find the time to host a holiday craft and cocktail night with friends ;)
The real magic of the holidays doesn’t come from swapping out your decorative pillows post Halloween (though I do love to do that, no shade!!!), but from spending intentional time celebrating with the people you love the most. So grab your scissors and your glue, pour some champagne into the nice glass, and make lasting memories curating your perfectly imperfect, aesthetically pleasing (ish) holiday home.
DIY Garland Made From Paint Chips
Supplies needed:
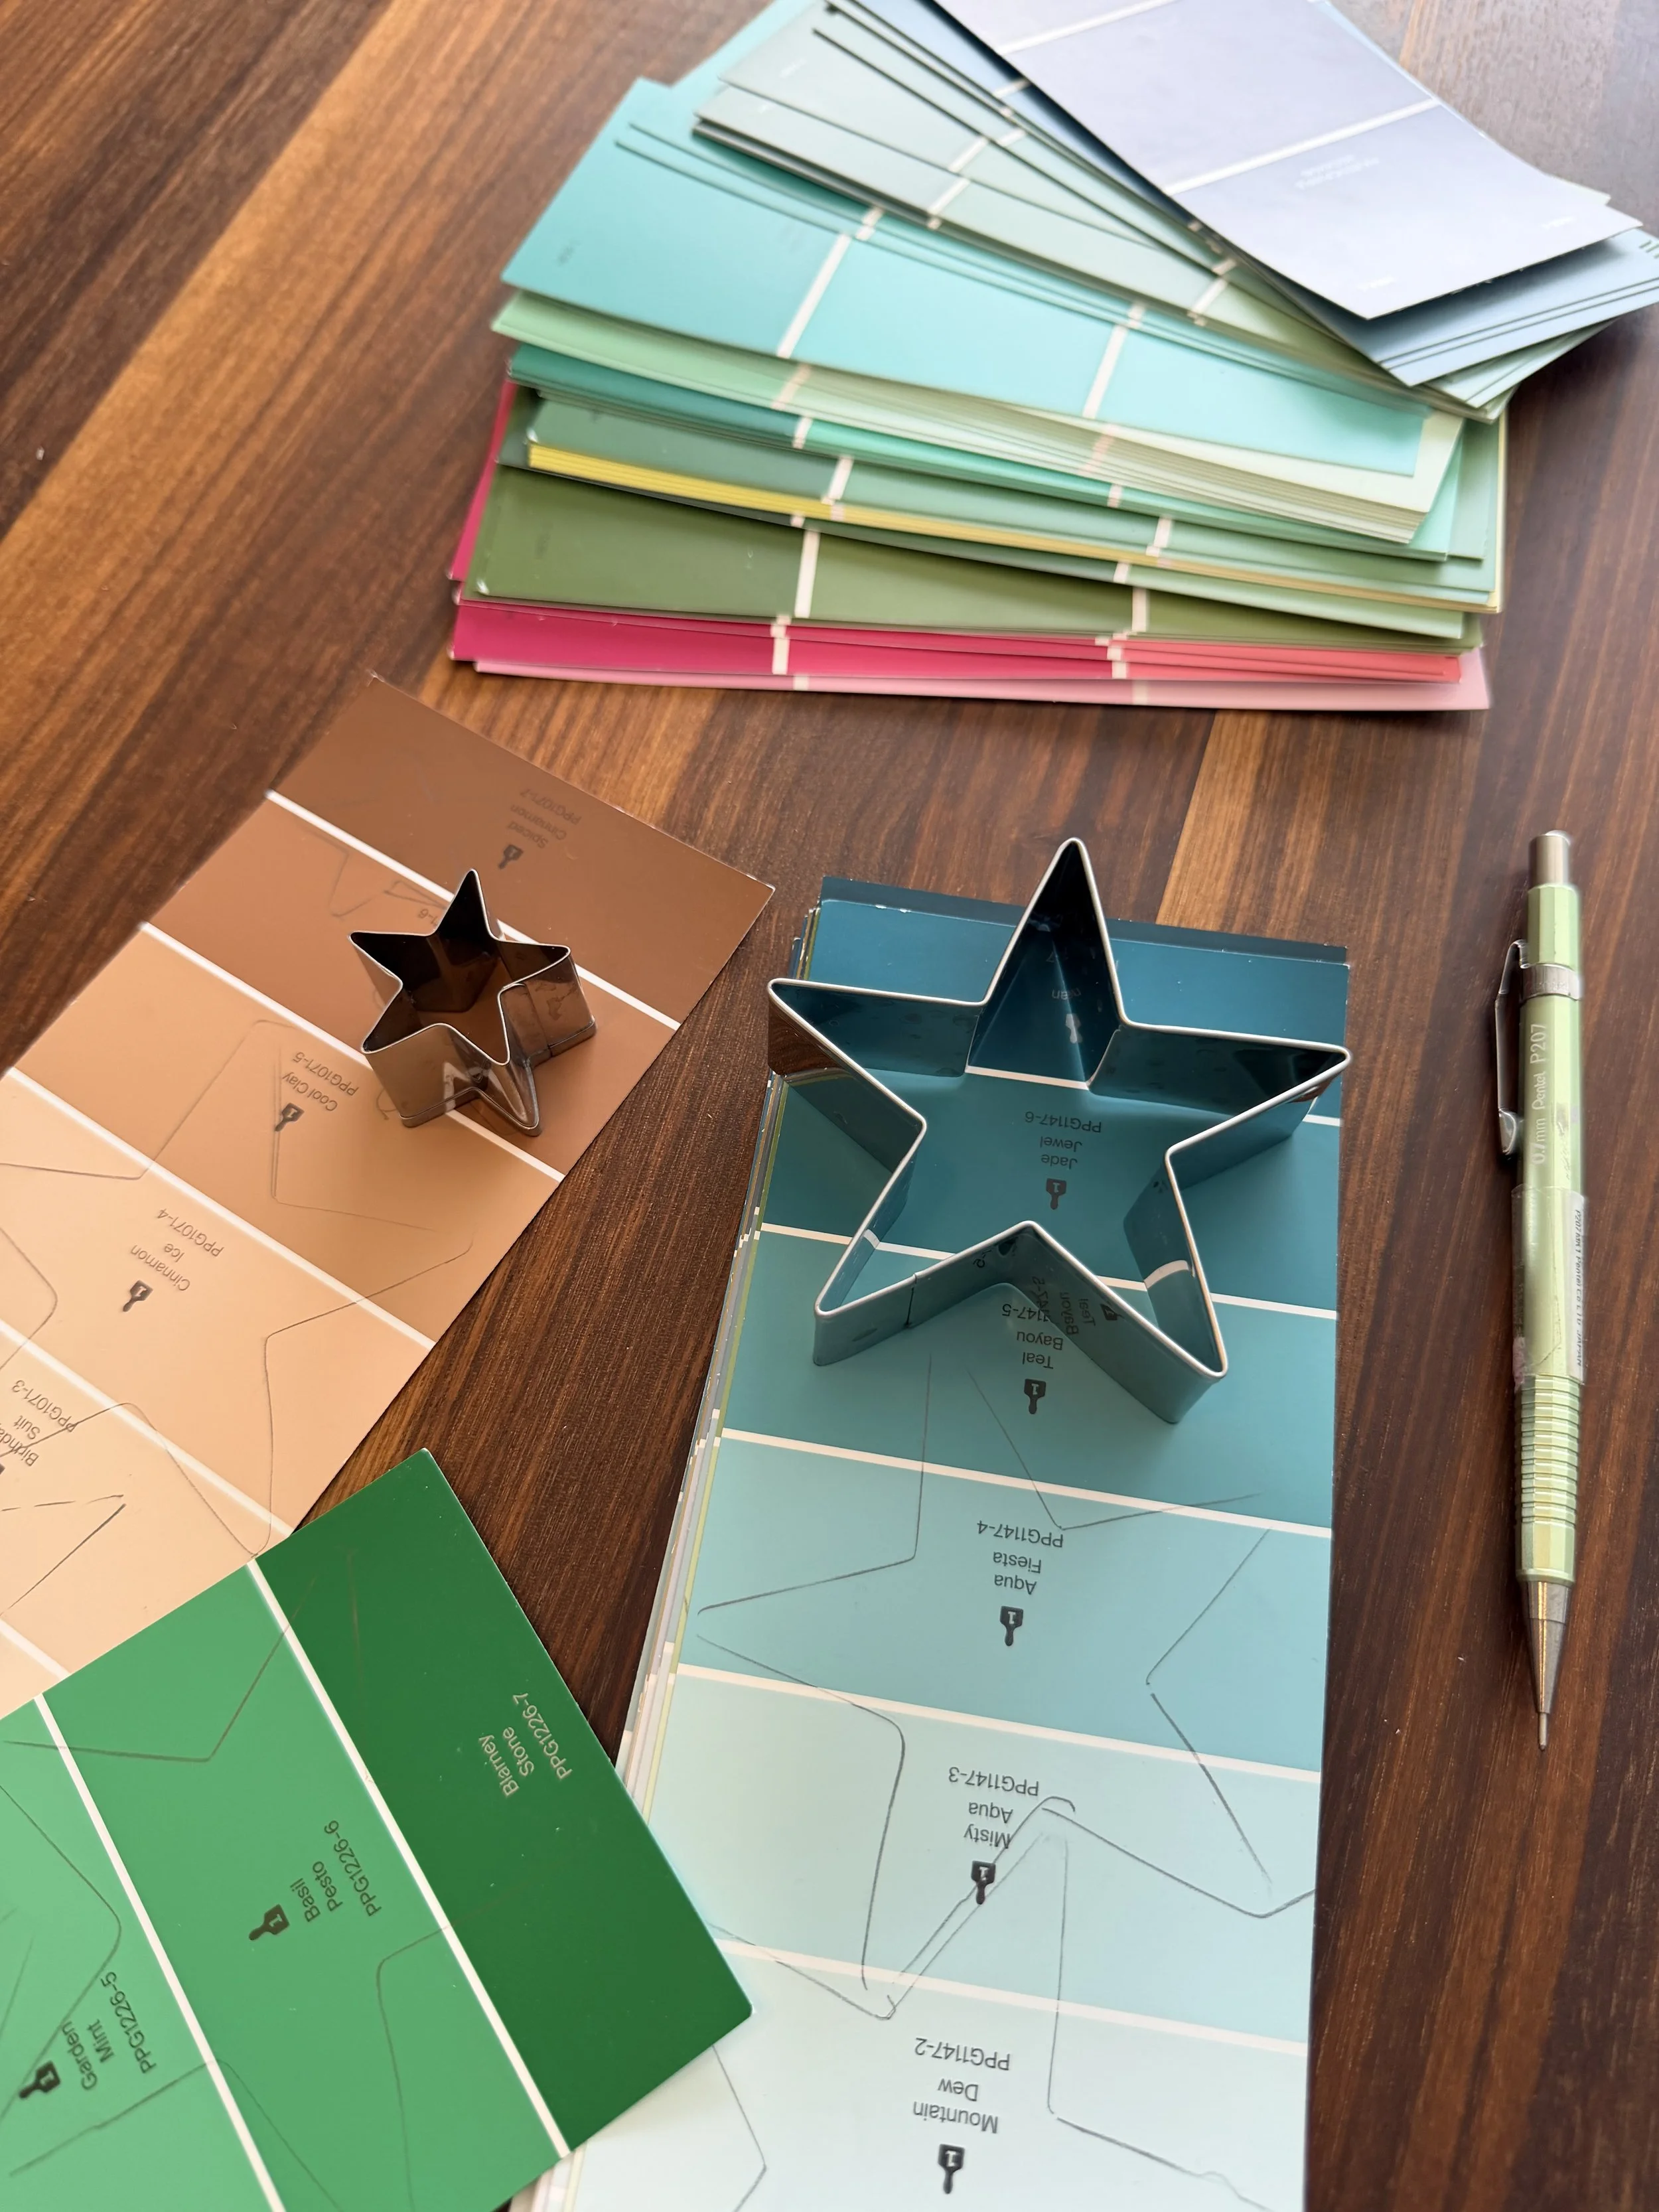
Paint chips of various colors (whatever colors you want, I did rainbow!)
Star stencil (or feel free to freehand, I used cookie cutters I found in my kitchen)
Pencil
Scissors
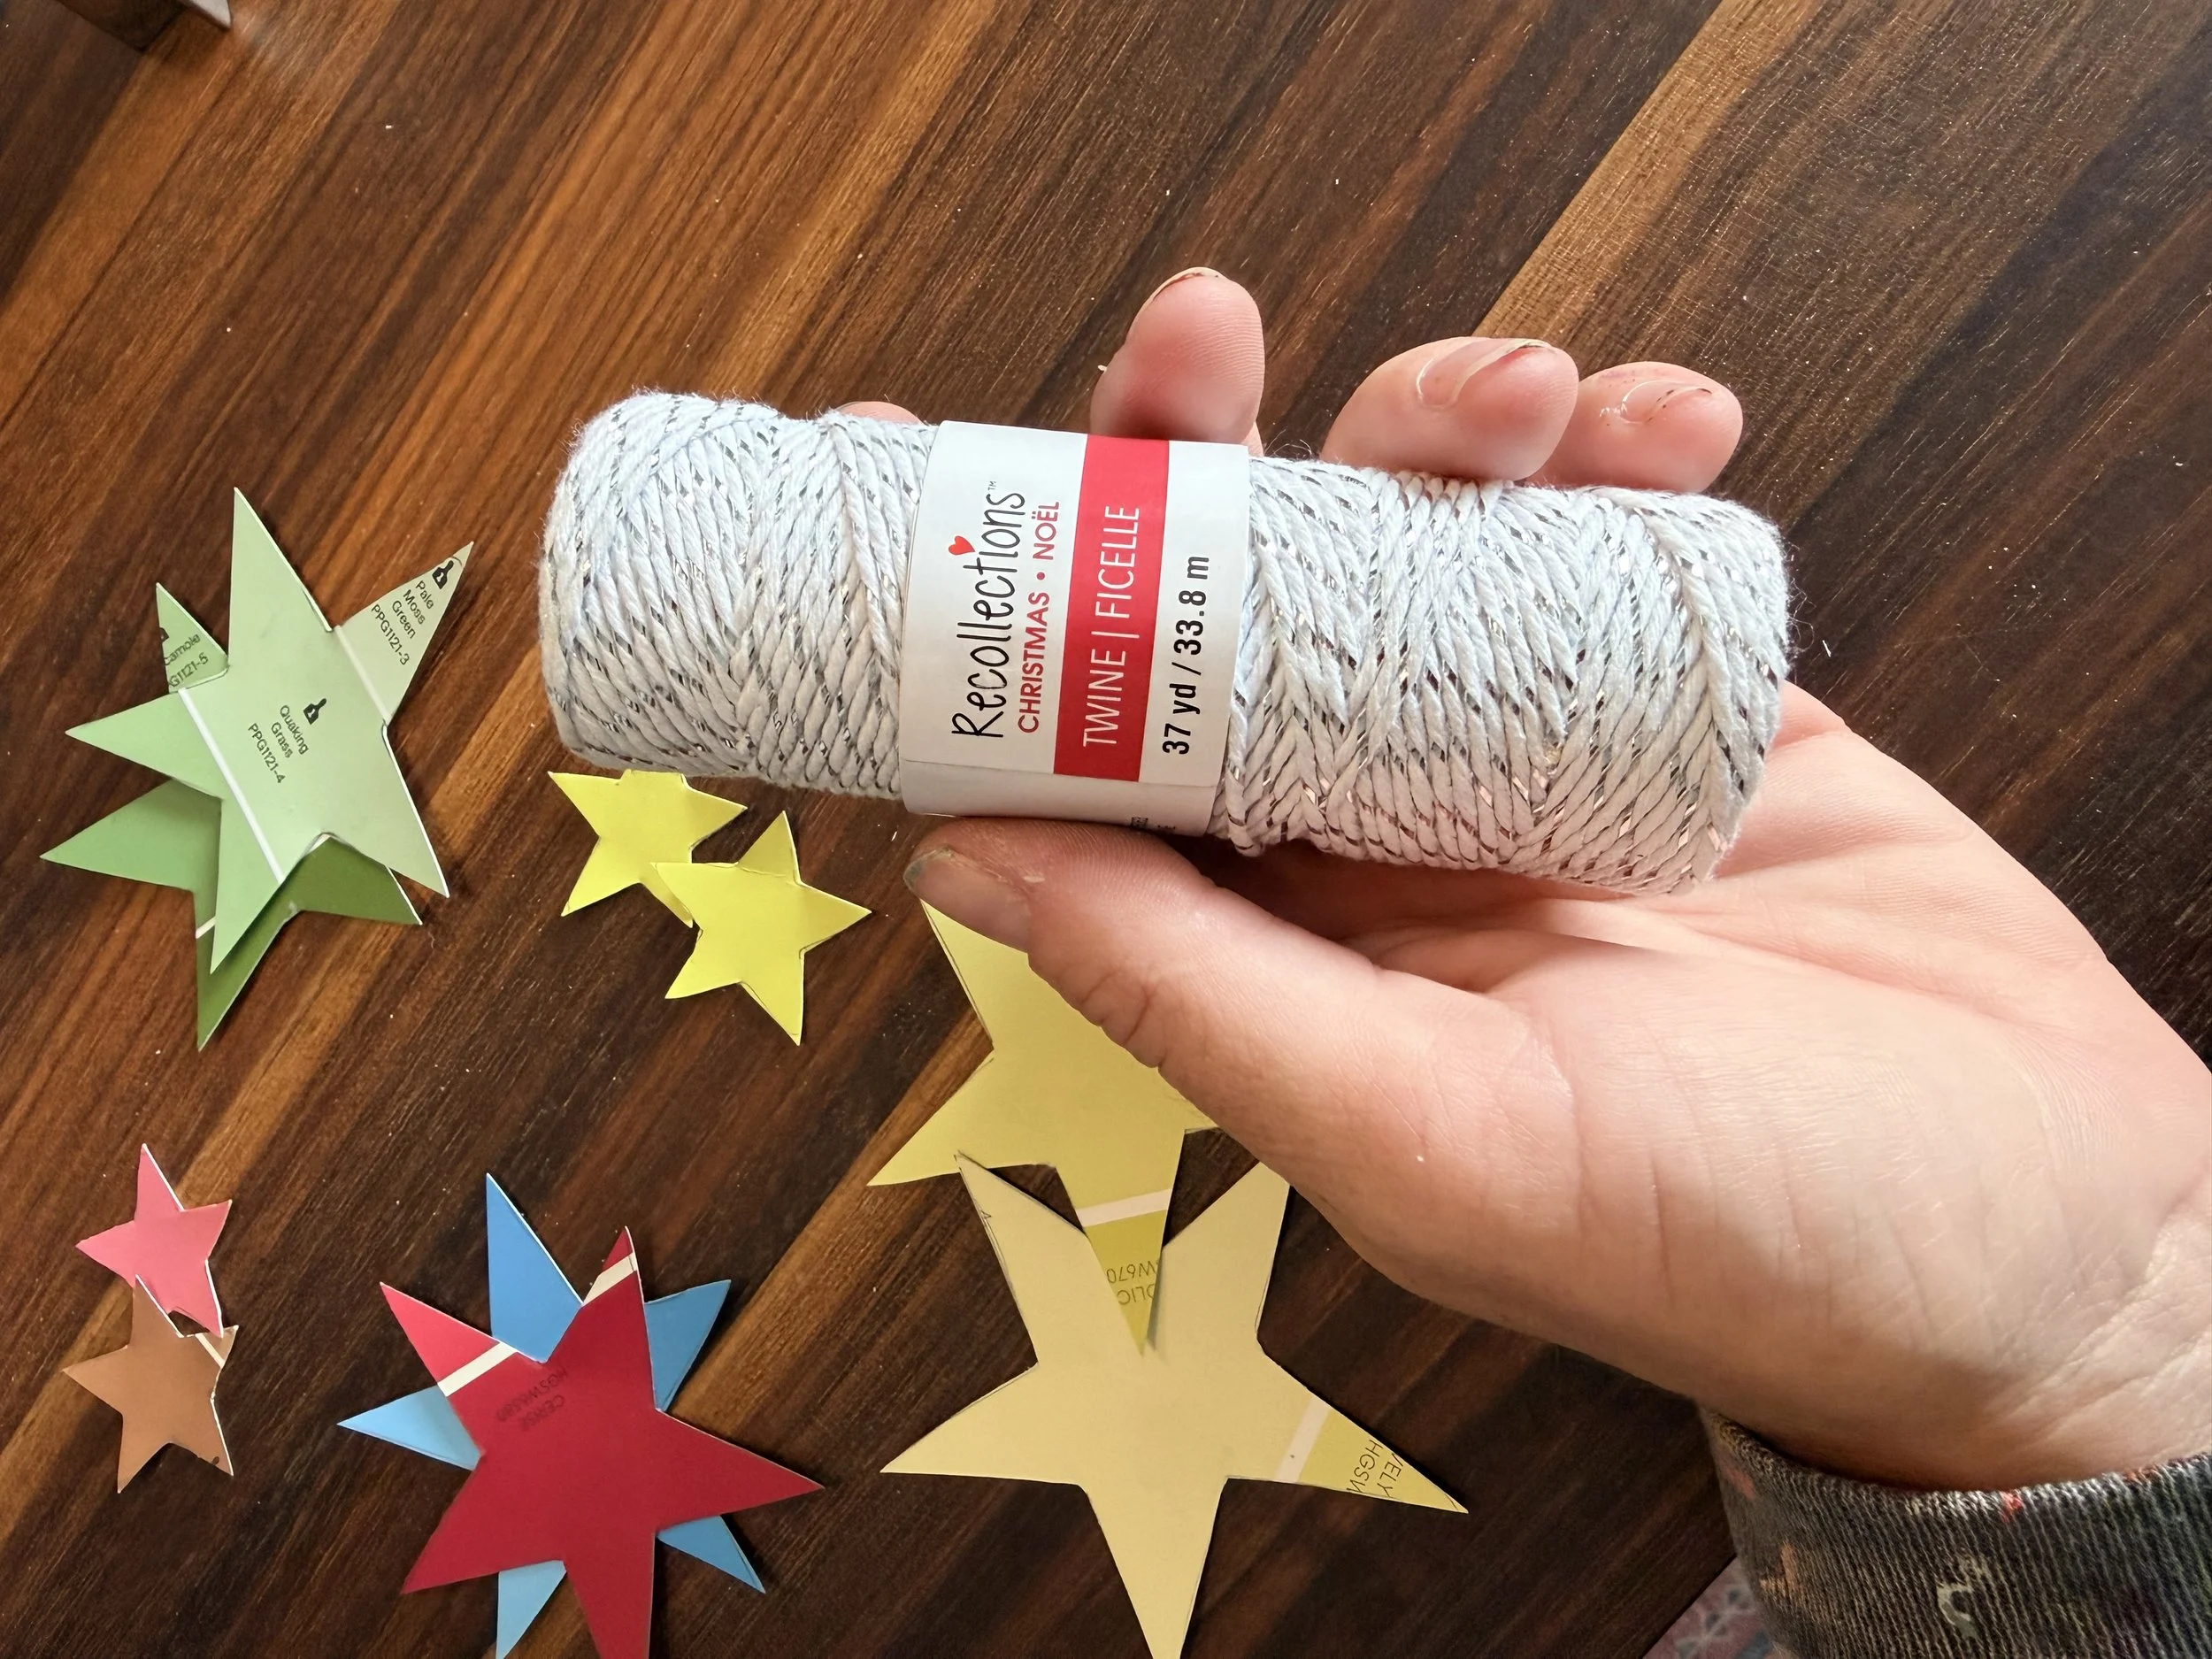
String or twine
Hot glue and glue gun

How to assemble your garland
Start out by choosing your design(s), and laying down the outline on the paint chips. I did two different star sizes and liked the mis-matched effect.
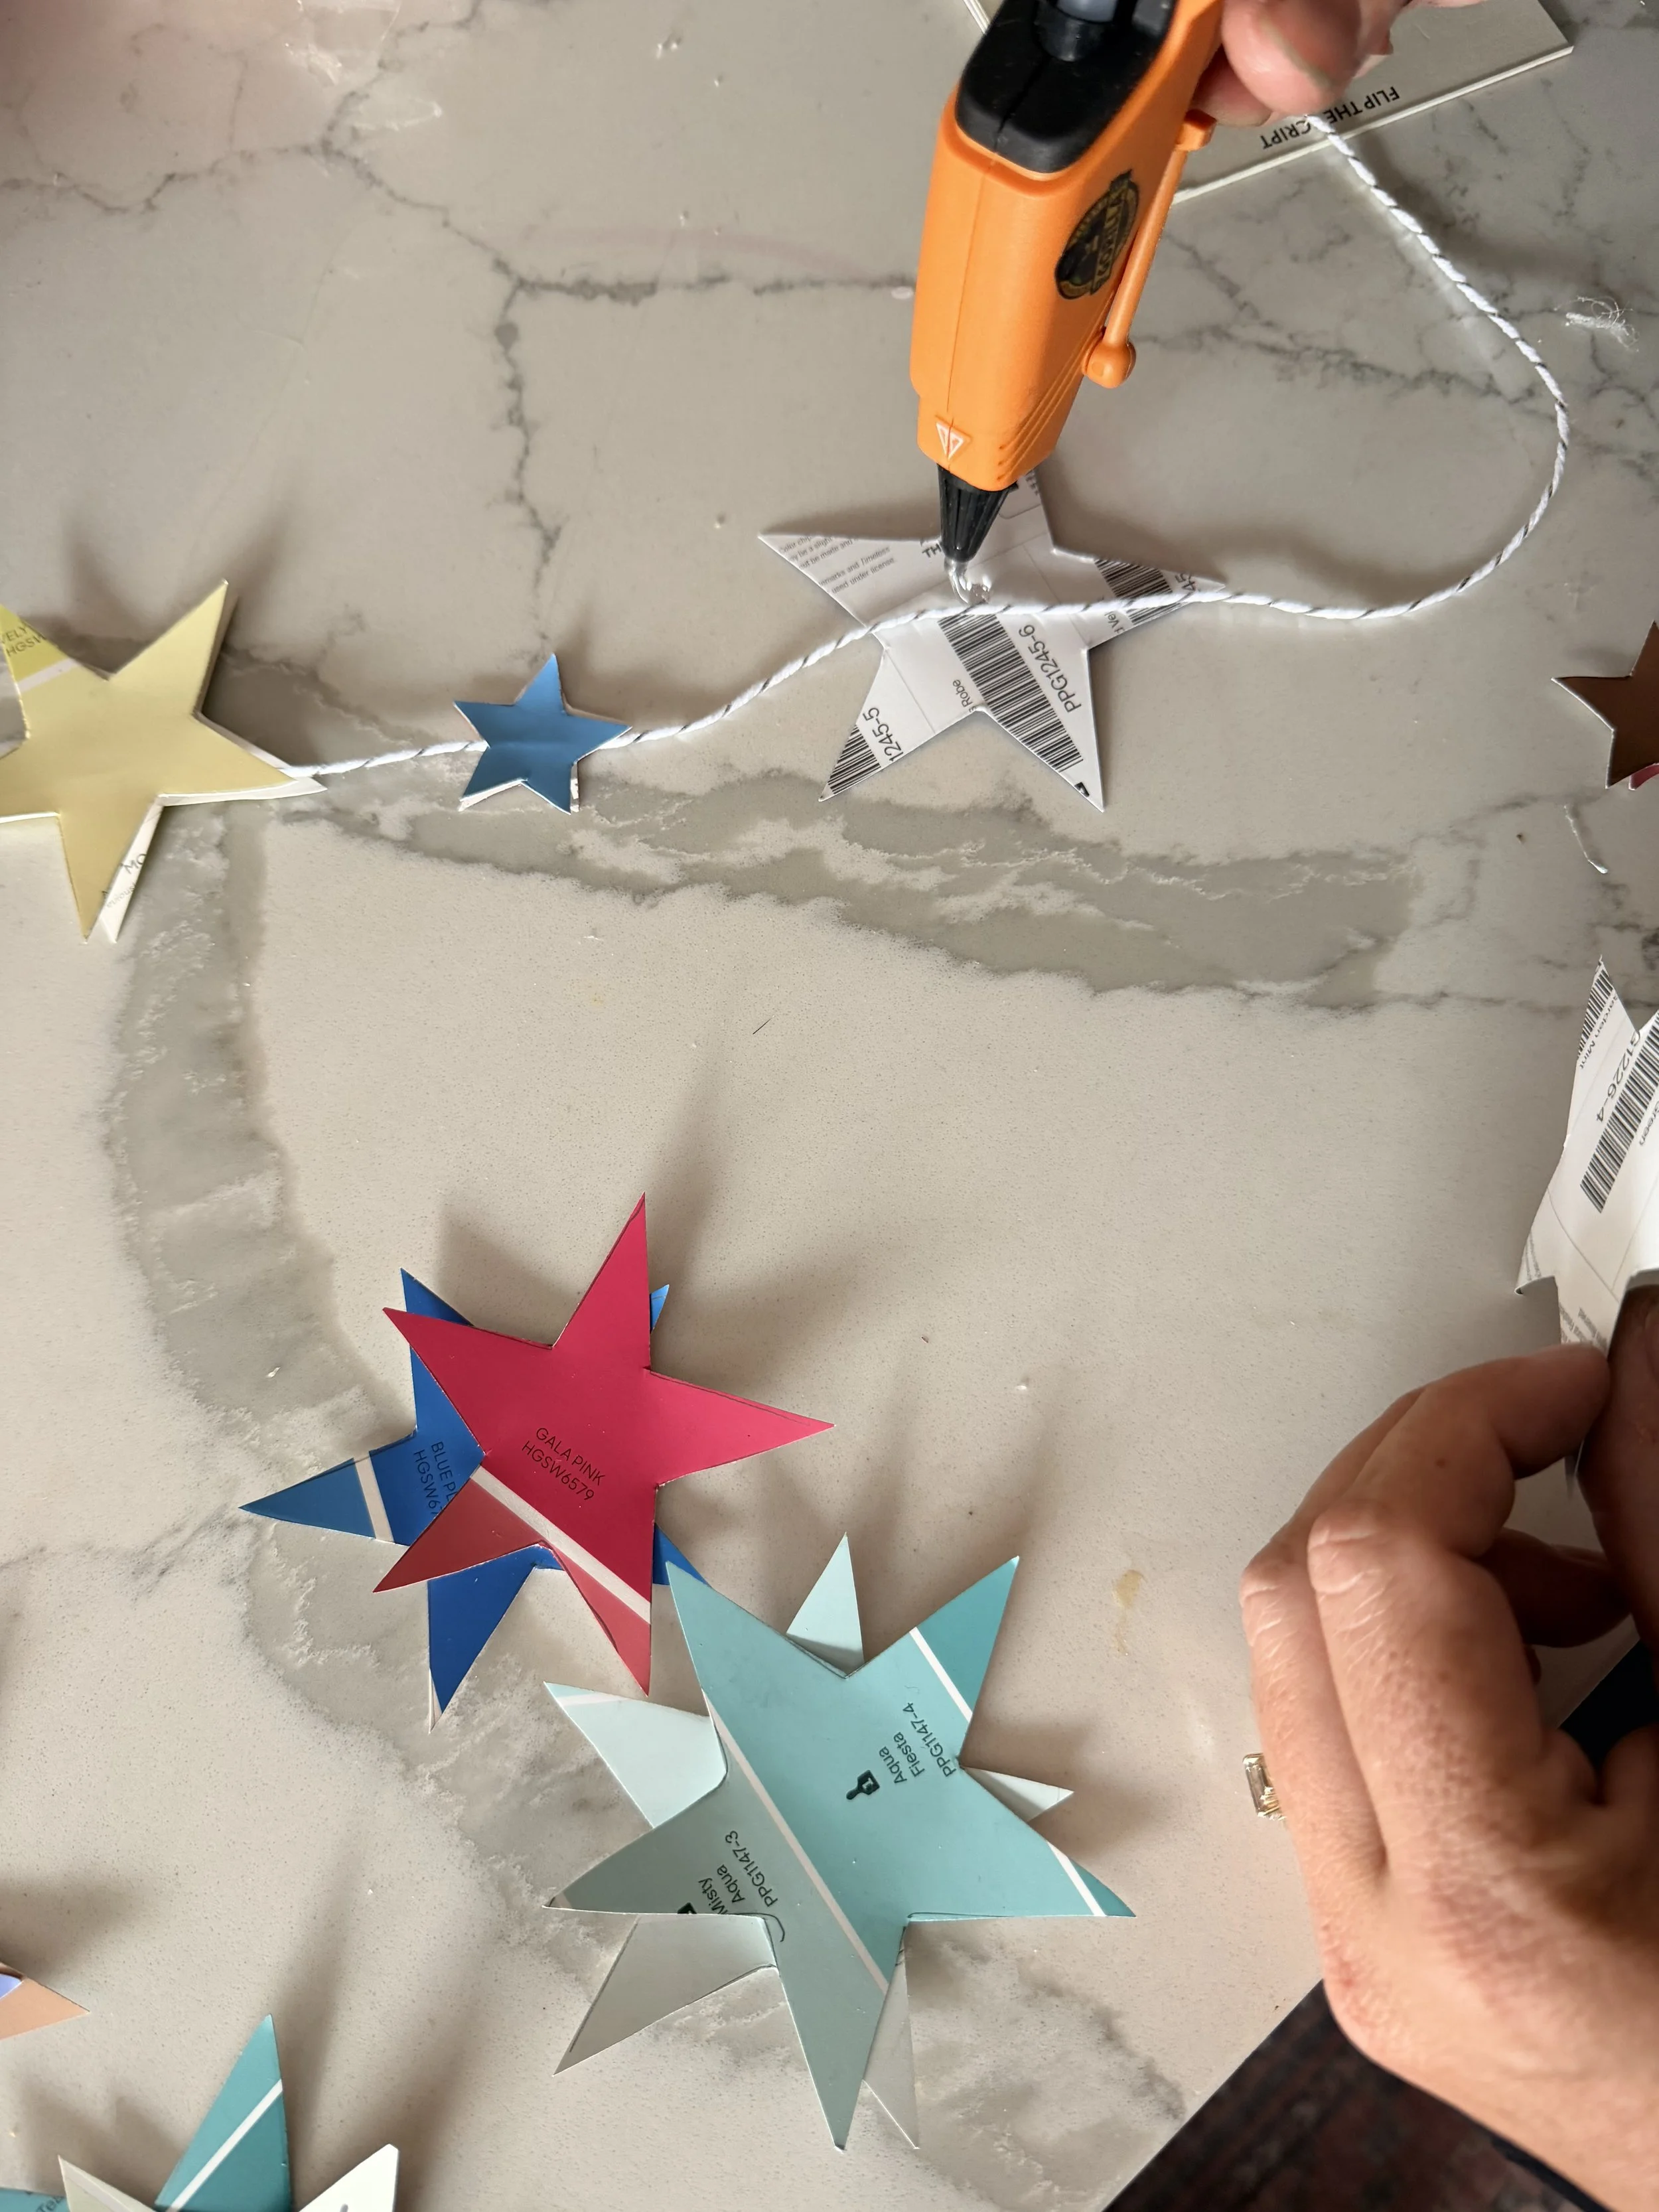
Once your designs are cut out, take one and lay it face down on the table, and lay your string on top of it (make sure to leave a decent size tail on that first one so you have enough to hang it up!)
Add a dot of hot glue over the string, and press another one of your designs on top like a sandwich.
I spaced mine out at random lengths from each other to make it whimsical, but you can be more orderly - go with your instinct! Continue this same process until you’ve used up all of your cut-outs, or your garland has reached your desired length.
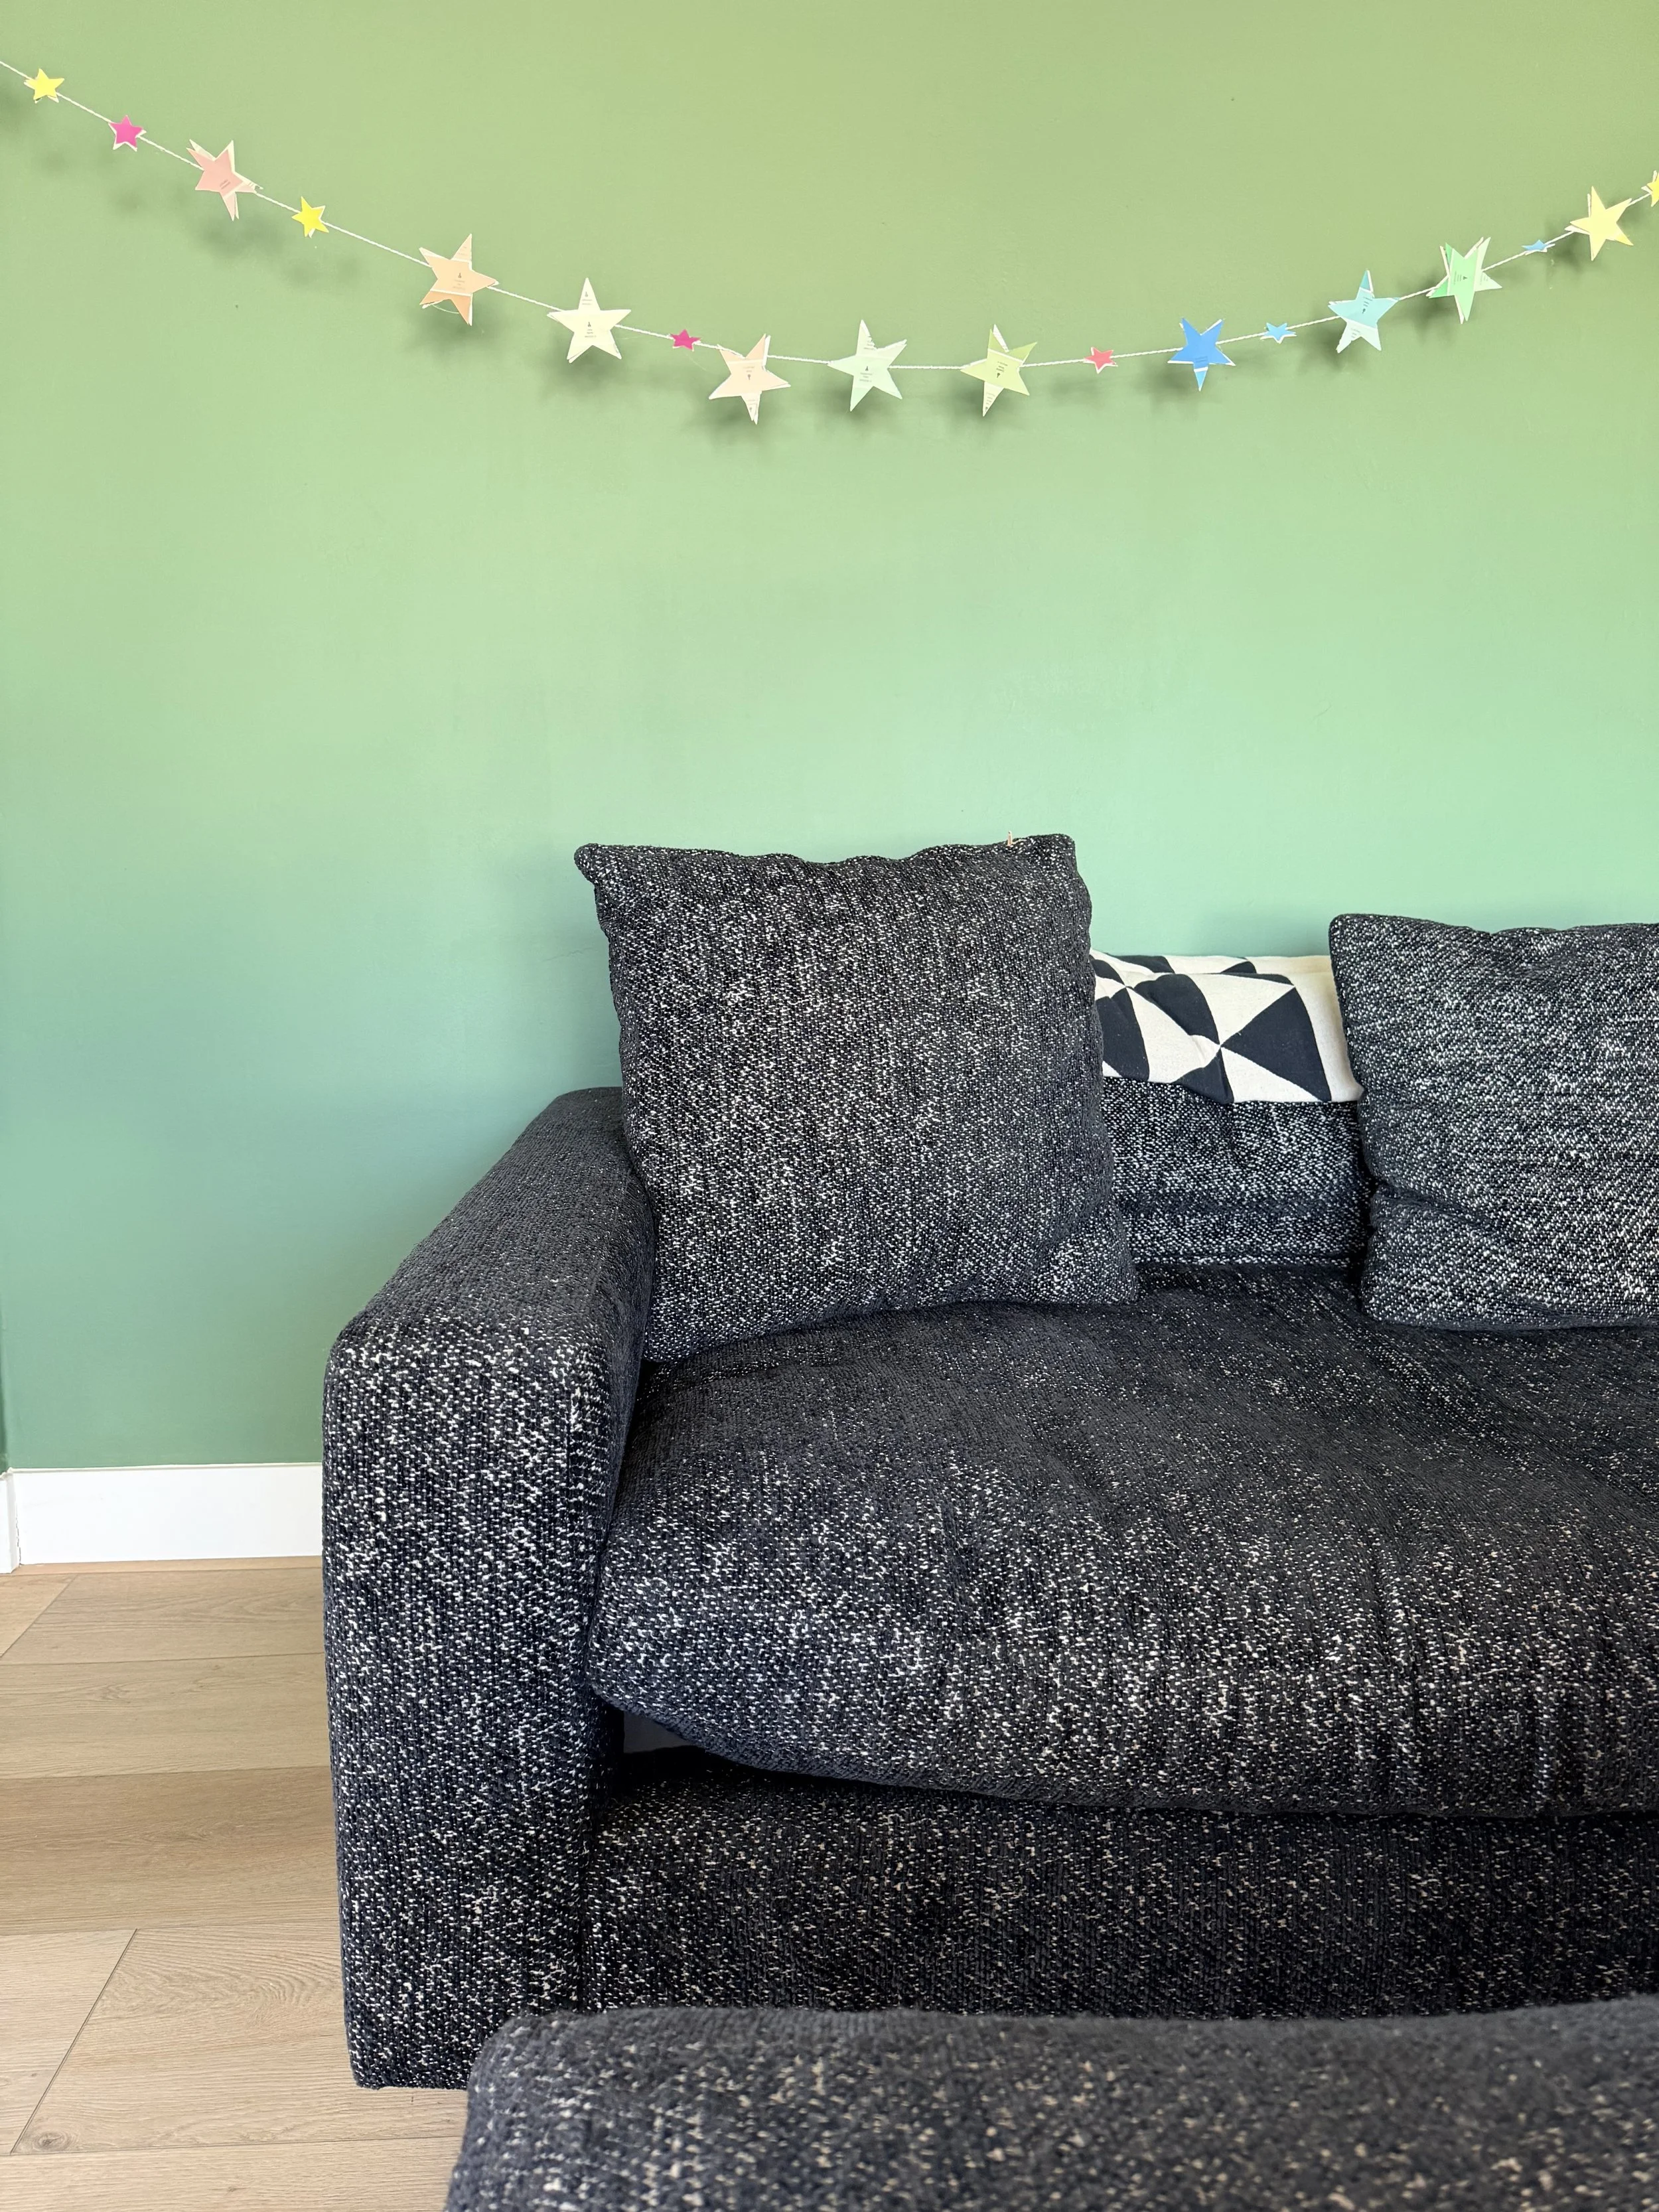
Let your garland dry for about 10 minutes, hang it up, and take a step back to admire your work.
Cheers and happy holidays!
Have you tried making our paint chip garland? Tag us in your creations or drop us a note in the comments! We want to see and re-share :) @pandrdesignco