Painting Perfect Lines With No Tape
Behind the Scenes of Our Latest Mural
After years of painting and hundreds of murals, I can confidently say that 50% of a successful mural project is in the prep work. Trust me, I know how very tempting it can be for us creative types who want to just dive right into a mural and let the creative juices flow. But taking the time to thoroughly measure, clean, tape and sketch will always result in a cleaner, more intentional end result.
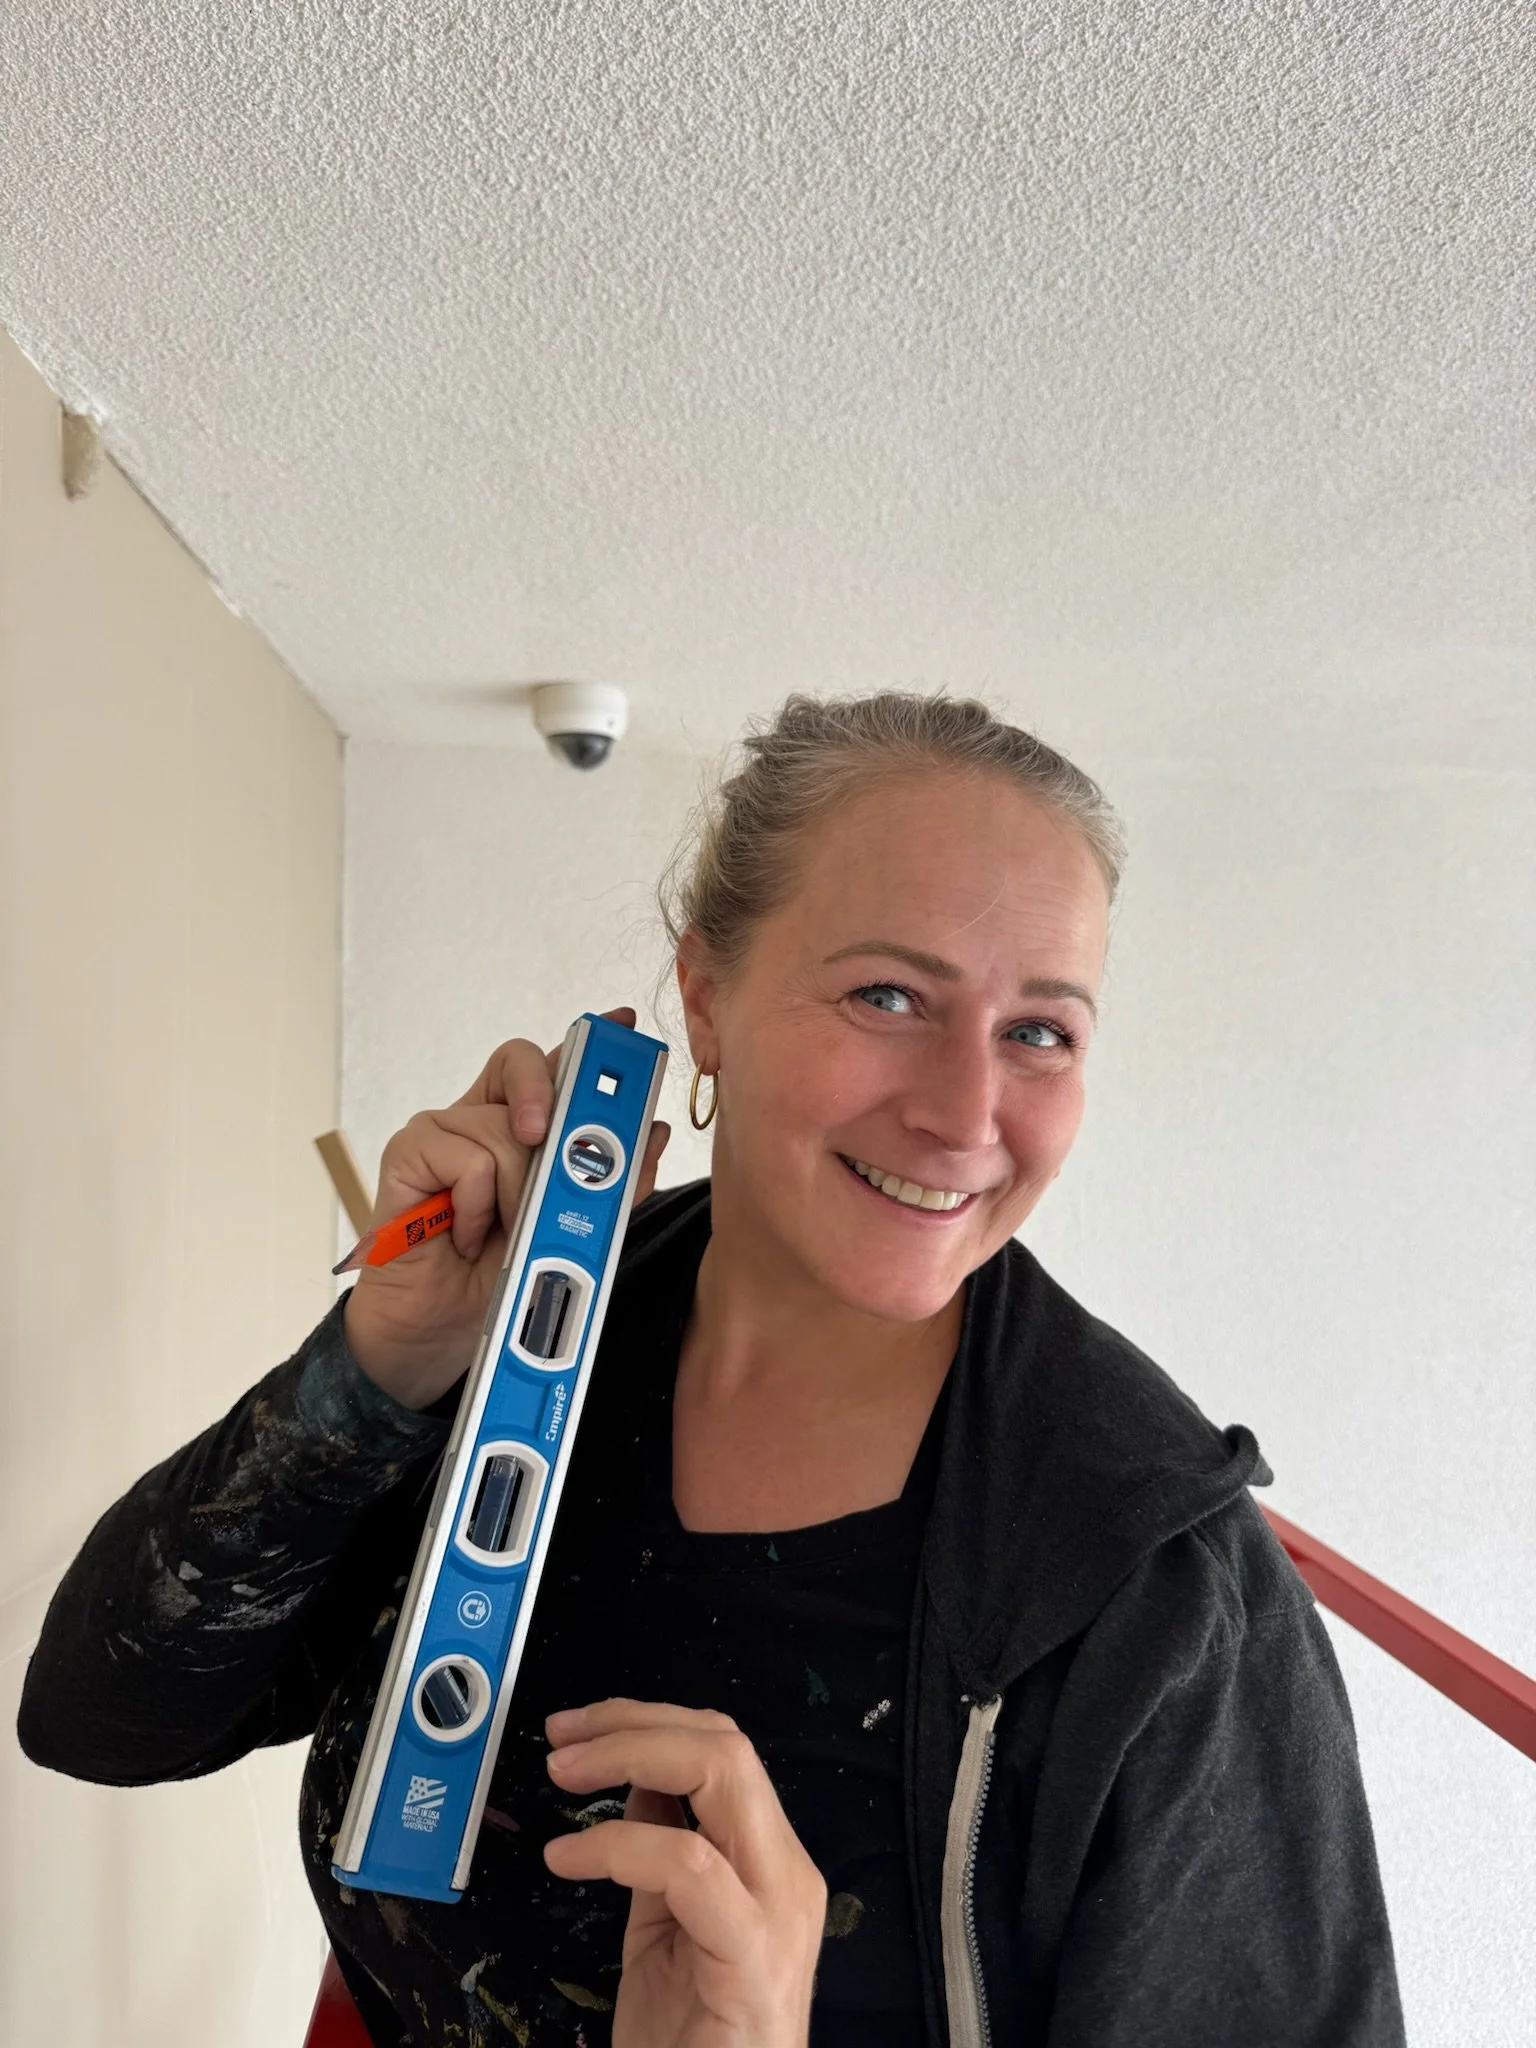
A simple level is going to be your best friend when you’re going tape-free.
I also know that sometimes when you’re working on a tight deadline or have a quick turnaround time, every hour is precious and time spent meticulously taping off every corner isn’t always an option. We experienced this with a recent mural the Pandr team installed for a new apartment complex in San Diego for RSM Design, at the AMLI Aero building. We had a one-day install window (9am - 4:30pm, with a lunch break built in), and a team of three (shout out to Allison Hunsley and Melissa Nalbach!) to pull it off. This meant no time to tape - but the quality needed to be just as good as if we did.
While I am always going to prioritize prep work whenever I can, sometimes ya just gotta go for it. Read on for a full behind-the-scenes breakdown of how we painted an entire (complex!) mural with no tape at all - and how you can do the same next time you’re in a pinch.
The Setup
While we may not have taped, there was some prep work done ahead of time. We arrived at a wall that had been pre-painted and dried, which really helped speed things along. If you have a quick job and the client has the ability to prep the background color for you, I highly recommend making that happen.
Pandr’s job was to add a bold, graphic layer on top - full of geometric shapes and straight lines. Thankfully, we were able to pick up a brown paint by BEHR that was a true one-coat paint. When you’re working at this scale and need things to be precise, not having to do more than one coat makes all the difference.
After setting up our paints and supplies, the very first thing we did was use our VR headset to map out the design layout on the wall (check out our blog on all the ins and outs of using VRto paint a mural - we love this tool!). The VR headset gave us the exact proportions we needed, so we could chalk everything accurately right onsite, without a projector.
Step 1: Chalk Layout
Chalk is always going to be your best friend for any mural - no matter what other tools you are using to install it. It’s cheap, easy to paint over, and essentially fool proof. Before going in with the chalk on this mural, we defined the exact line width for the whole mural - and stuck to it. Consistency is everything with a graphic piece like this. We estimated a width of 1.5” for the lines in this specific design, which happened to be the same width as our small level - which we used as our reference for all of the lines.
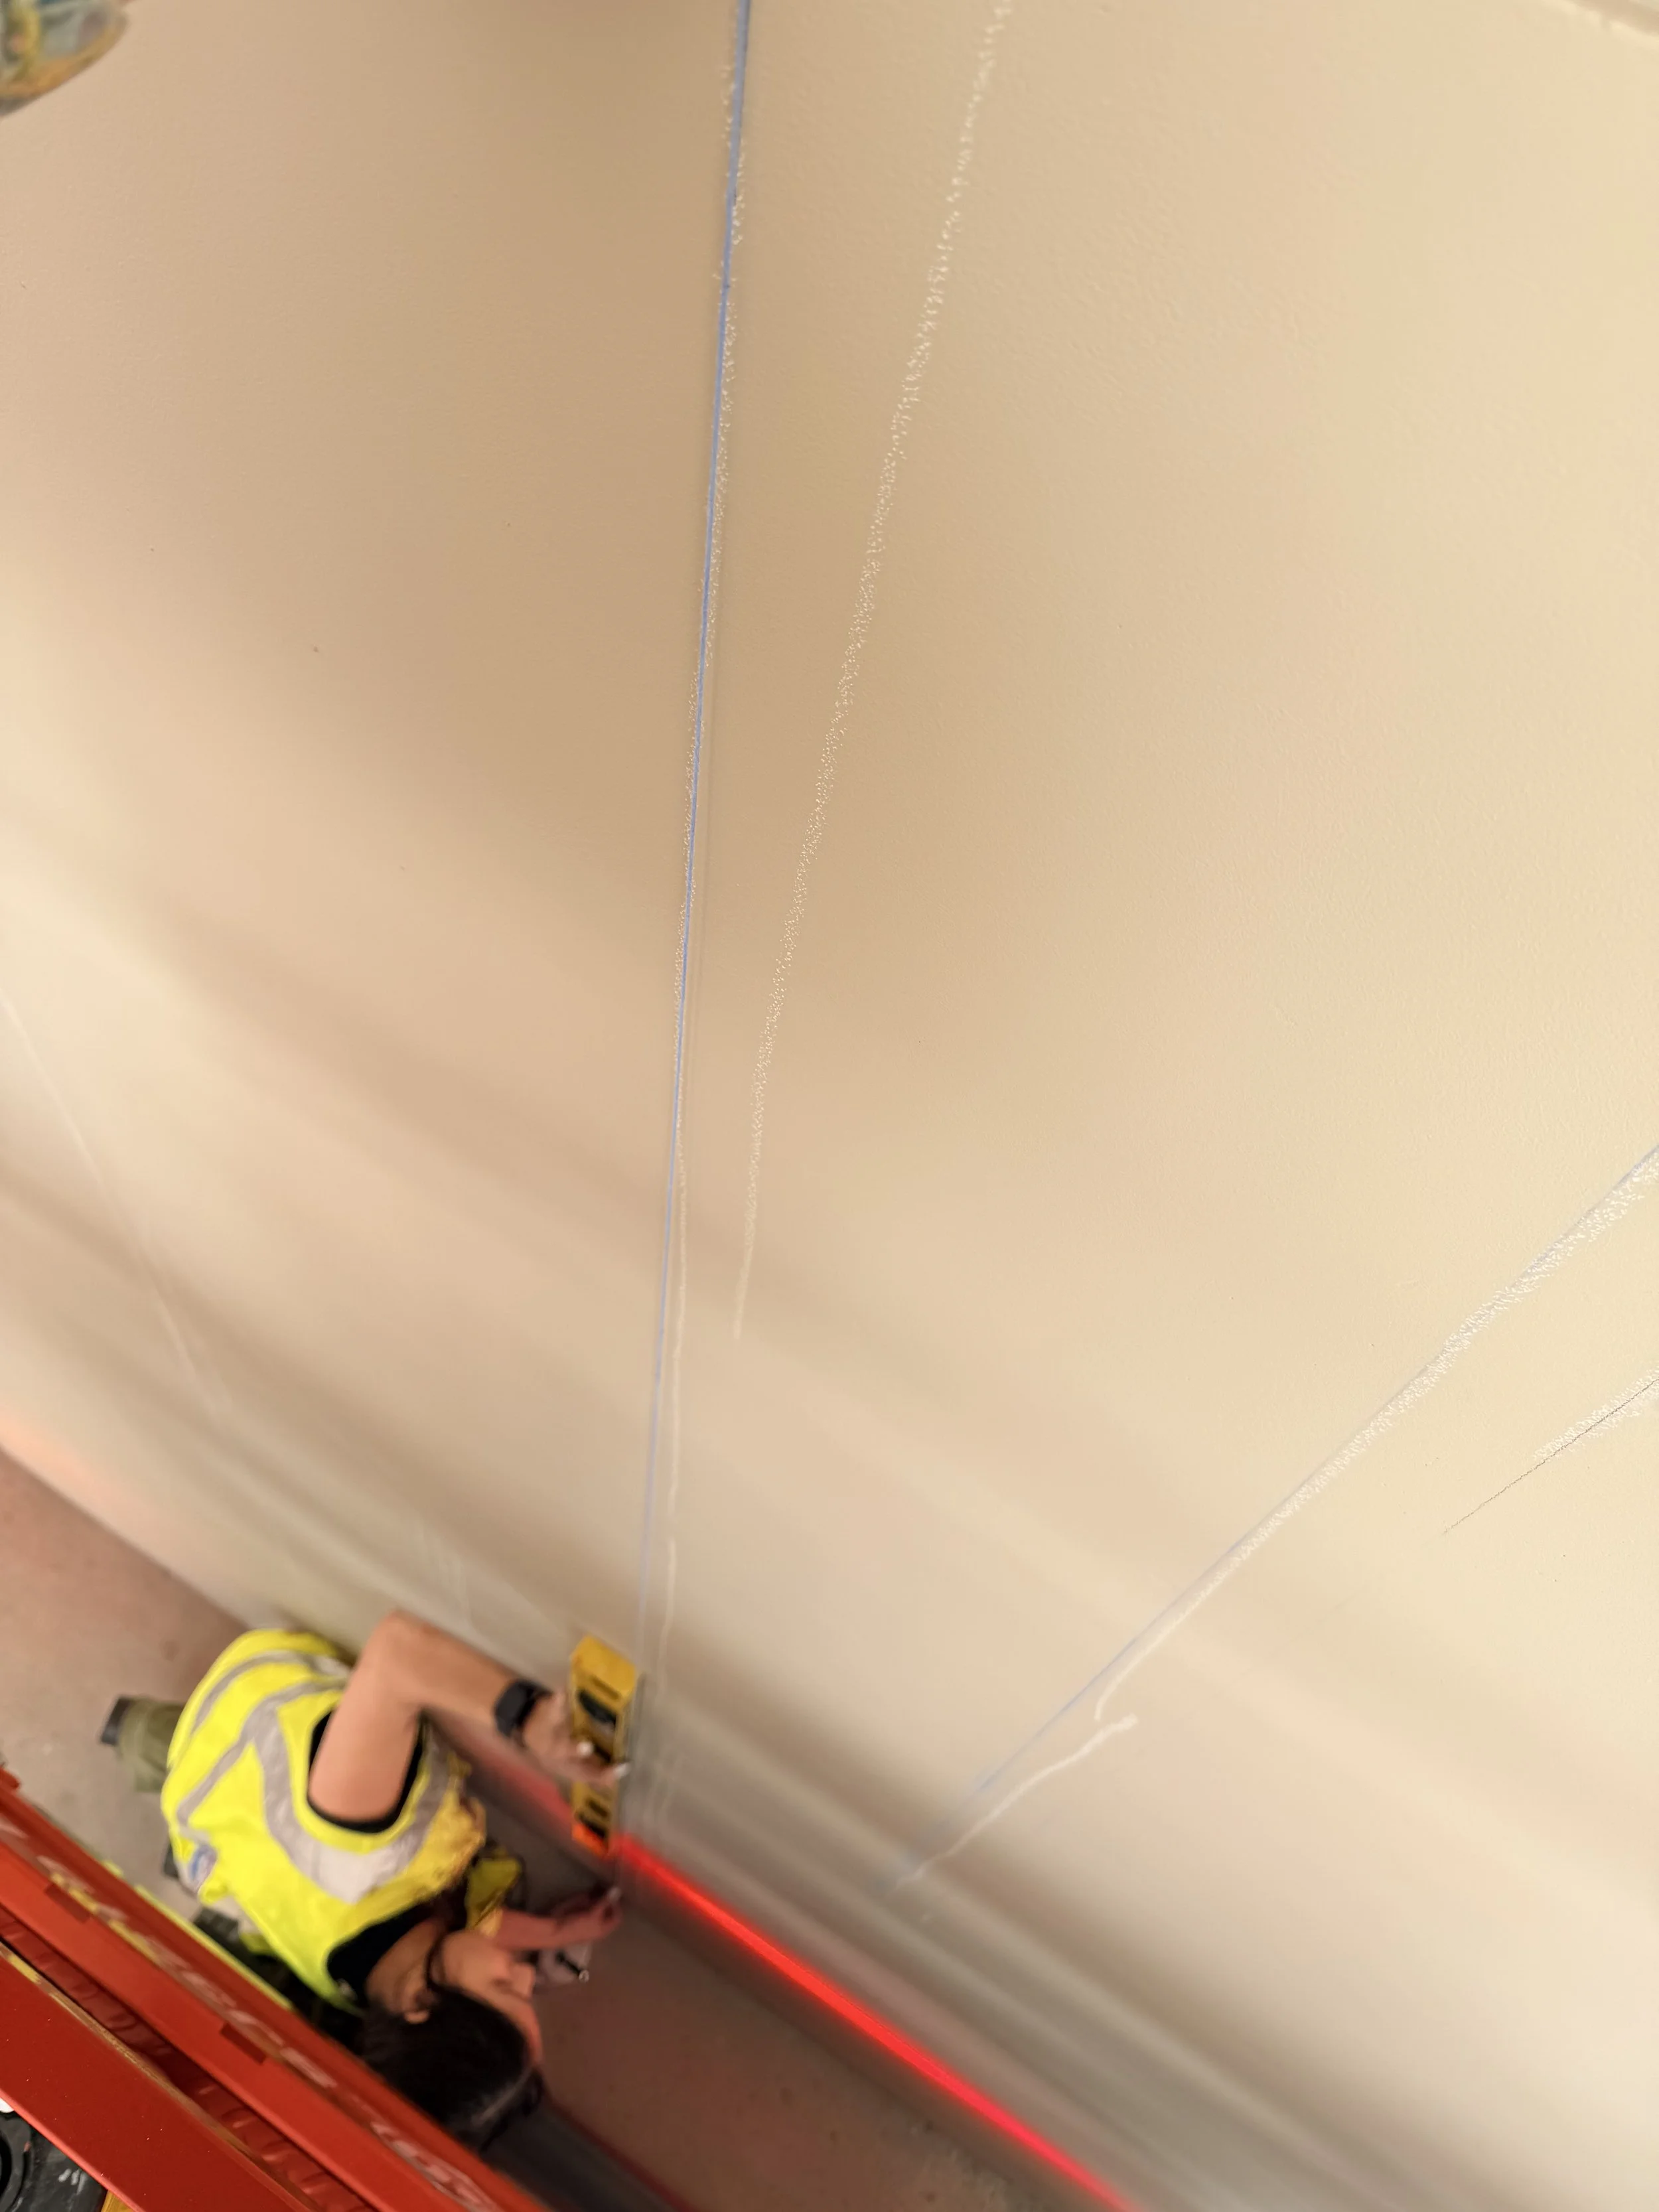
Once we knew how wide the line would be, we used a chalk line with blue chalk to snap all the long verticals and horizontals. A chalk line is an amazing tool that makes throwing up straight lines QUICKLY a total breeze. Plus it's sooo satisfying. Now, it’s worth saying: no wall is truly flat. This one was especially wavy, so our snapped lines didn’t always land perfectly (but gave us a really good idea). For areas where the chalk line drifted, we went back in with a level and adjusted by hand, no big deal.
Pandr Tip: We typically refer to using blue chalk over a different color. Black and red chalk, for instance, can get messy and smear. Blue is nice because it's easy to paint over and light enough that any mistakes can be remedied very easily.
Step 2: Curves + Geometry
When it came to the curves in the design, Melissa stepped into her role as our onsite mathematician to ensure all of the curved elements were laid out at the correct scale. Her weapon of choice? A trammel point, a classic tool for drawing large, precise radiuses - and it worked beautifully. Trammels can get expensive, but if you’re freehanding a lot of curves they are typically more accurate than the typical method of tying a string to a piece of chalk or pencil to dictate radius. A trammel point uses a piece of wood to measure out curves, so they’re sturdier and more reliable than string - which can be stretched or slack too far in the wrong direction at any given time.
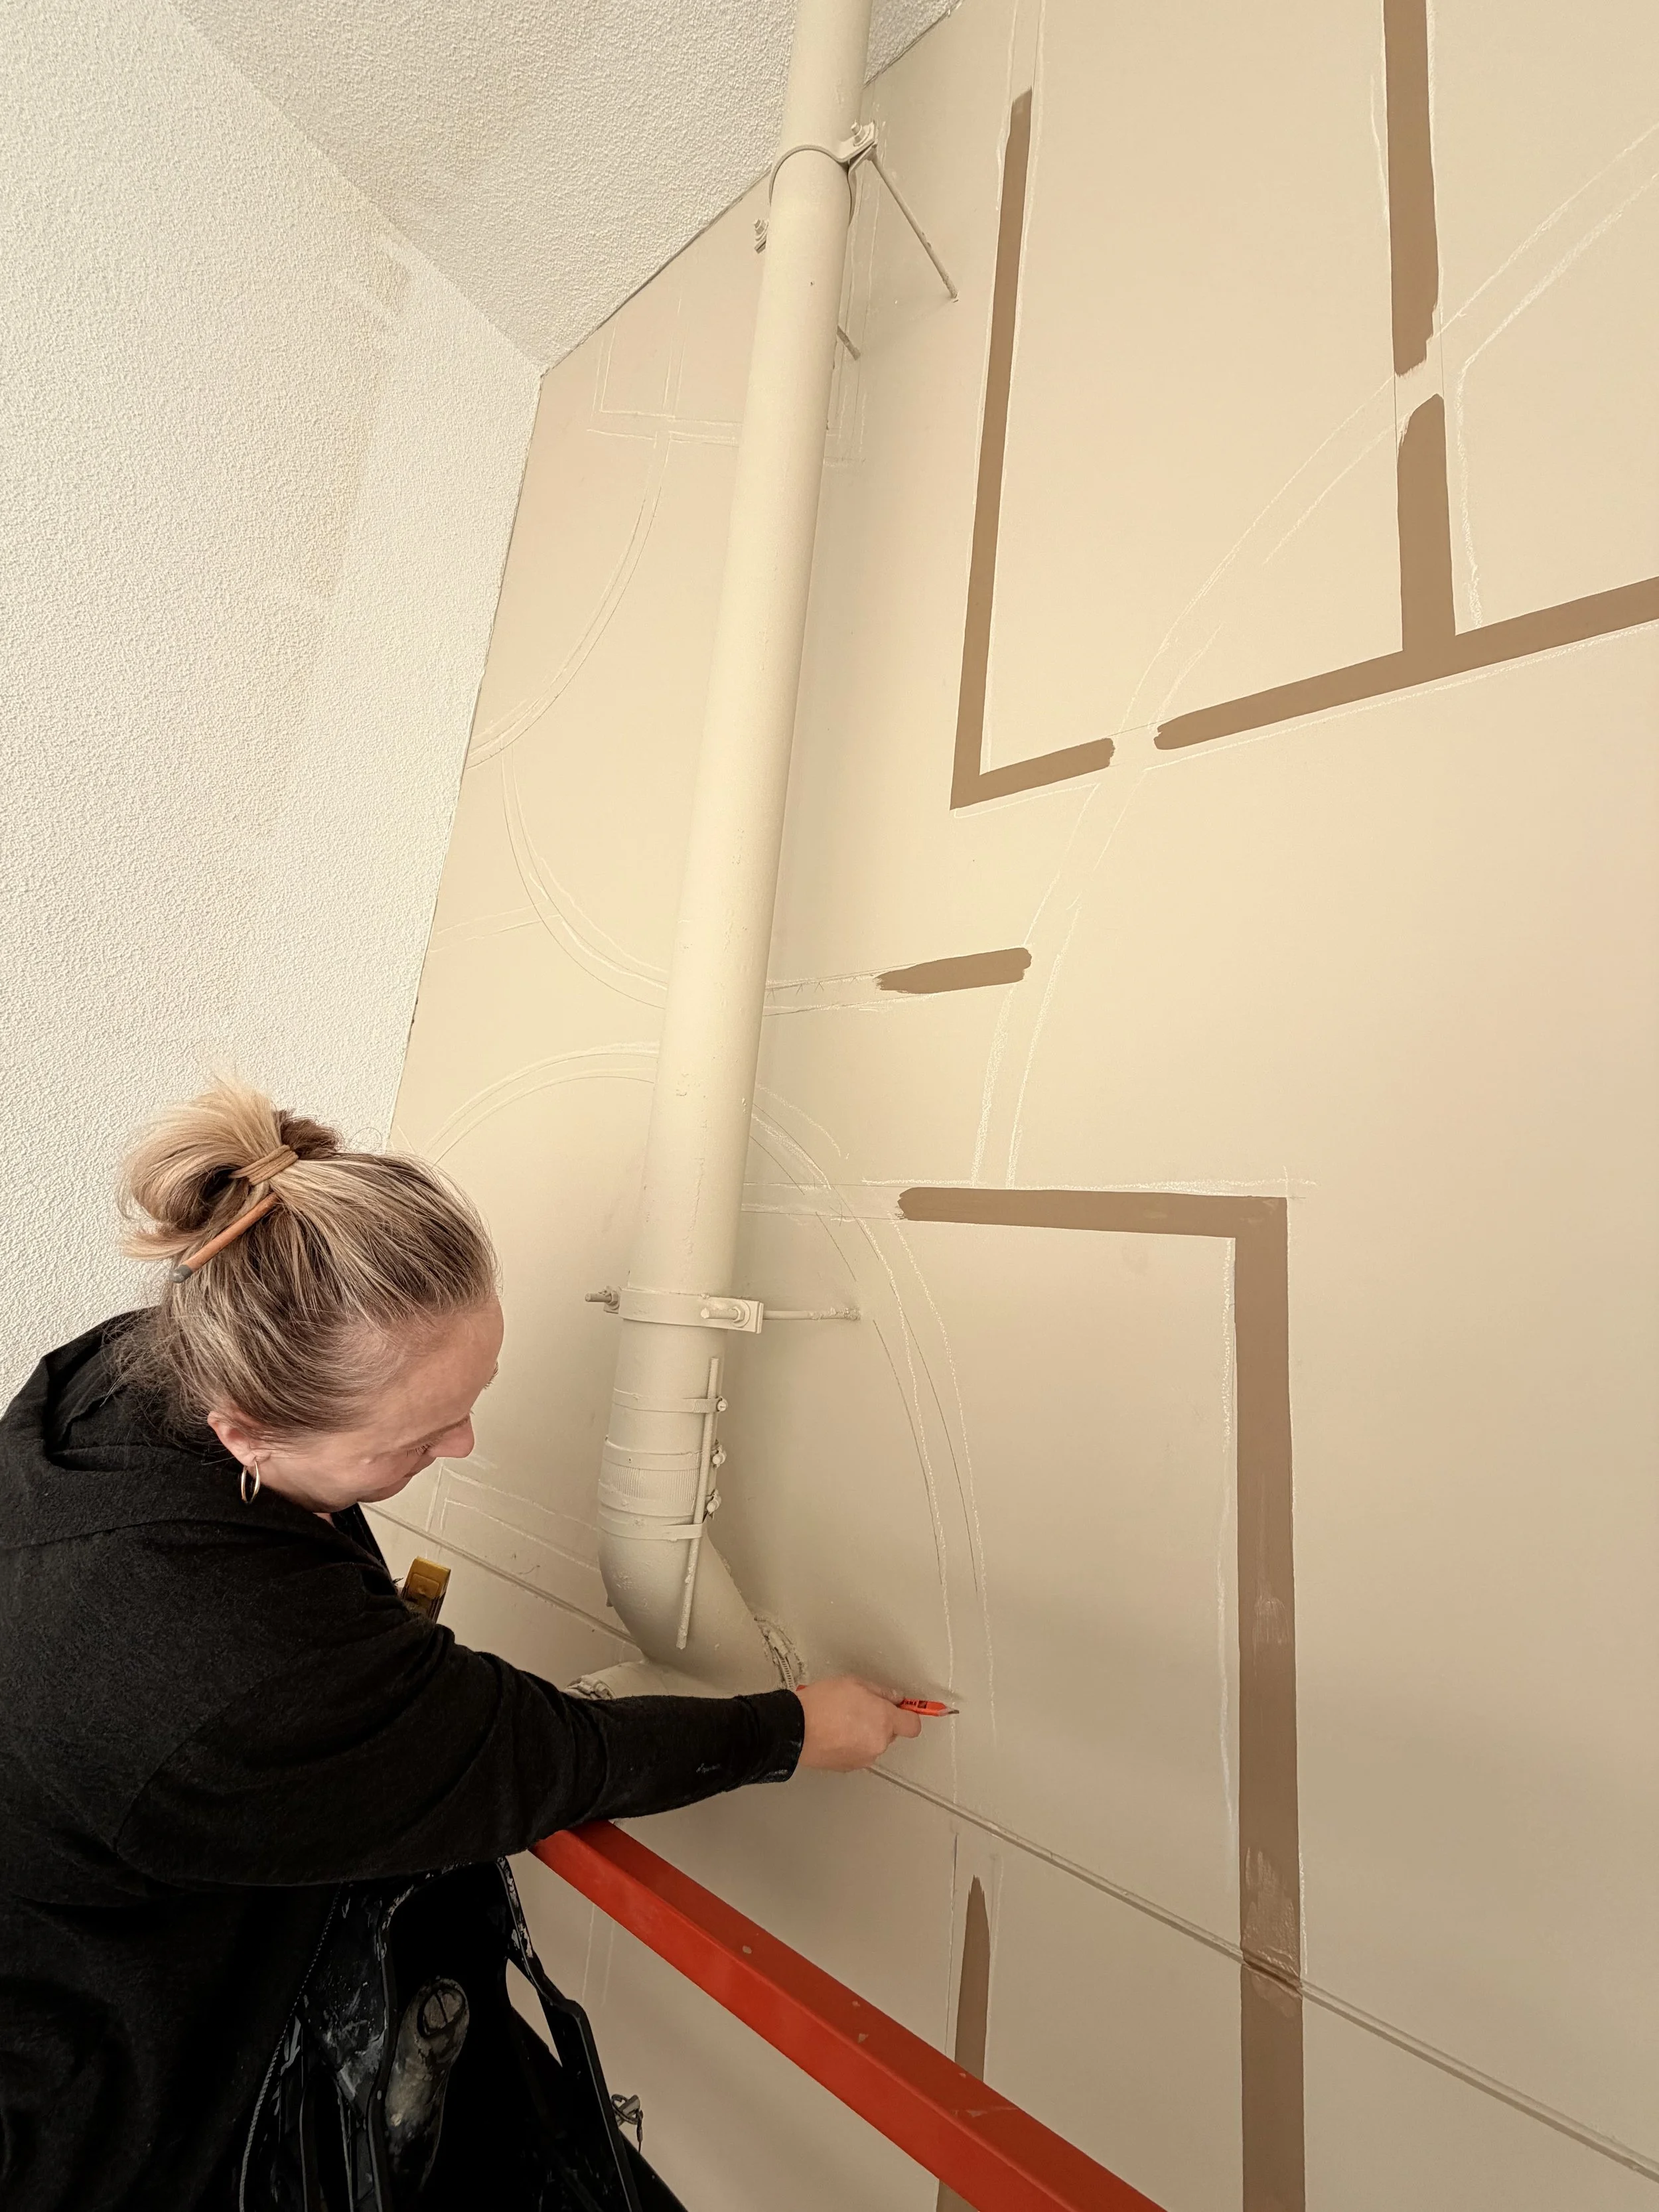
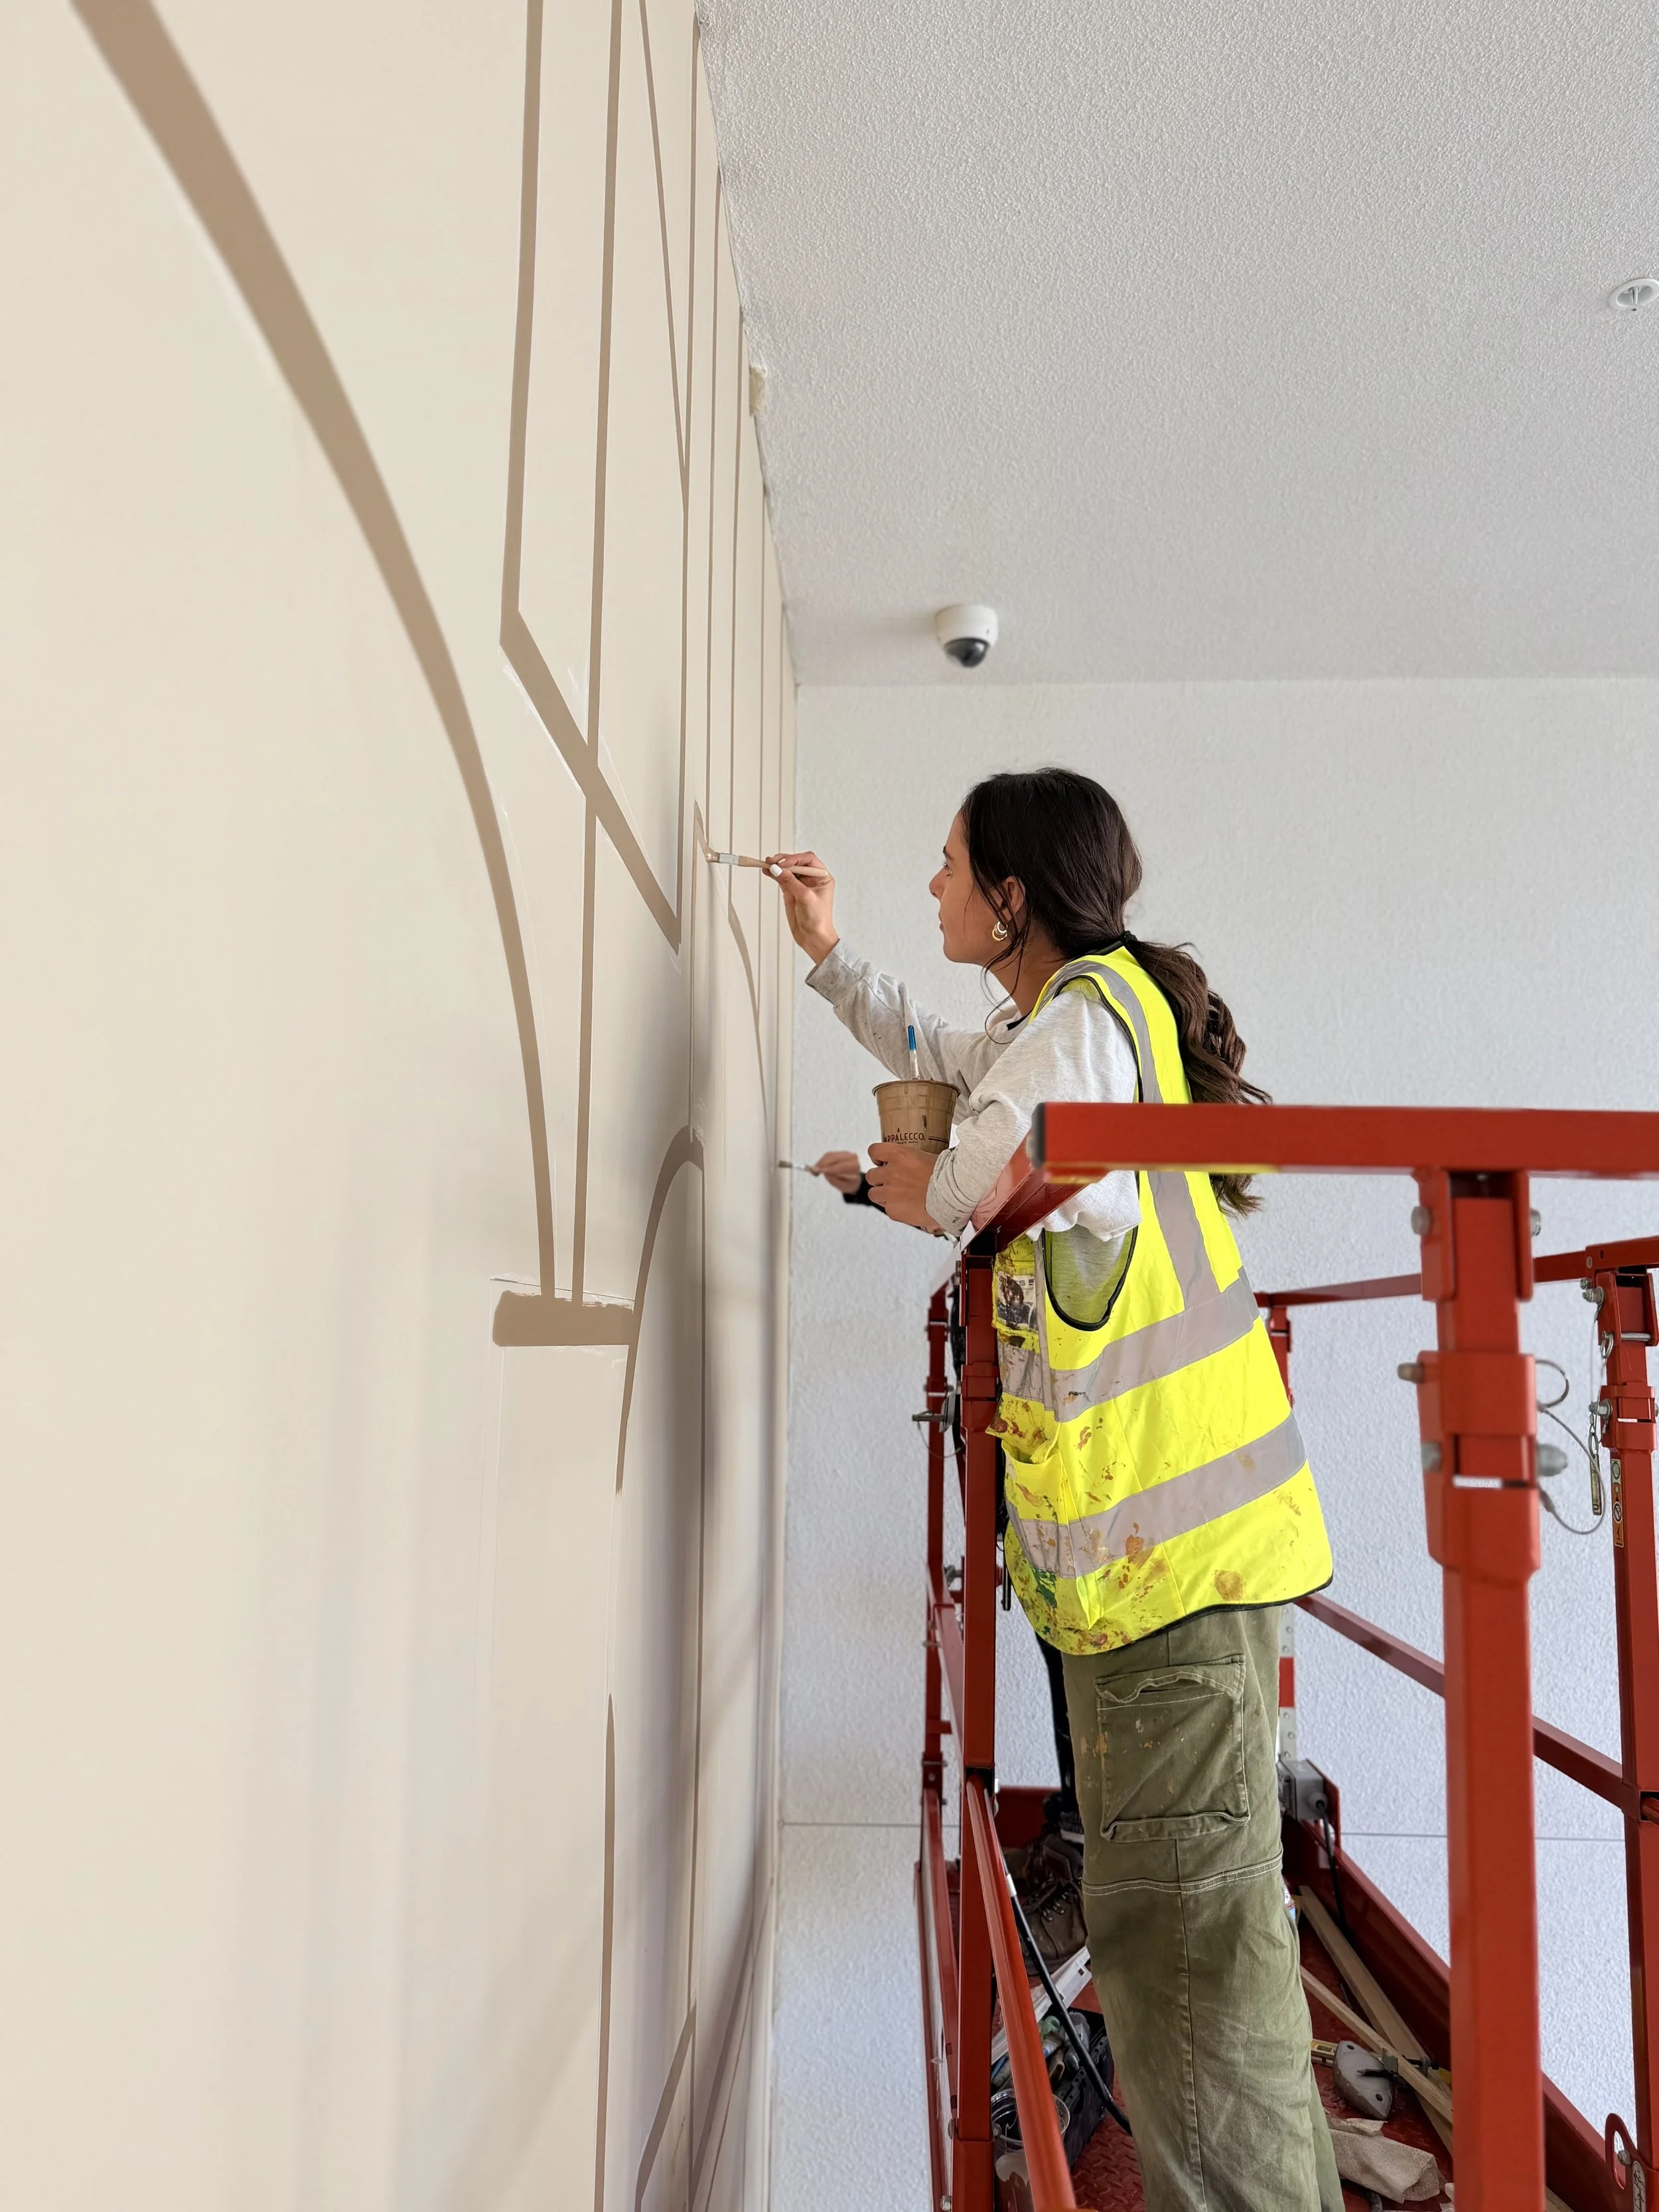
Step 3: Painting (Tape-Free!)
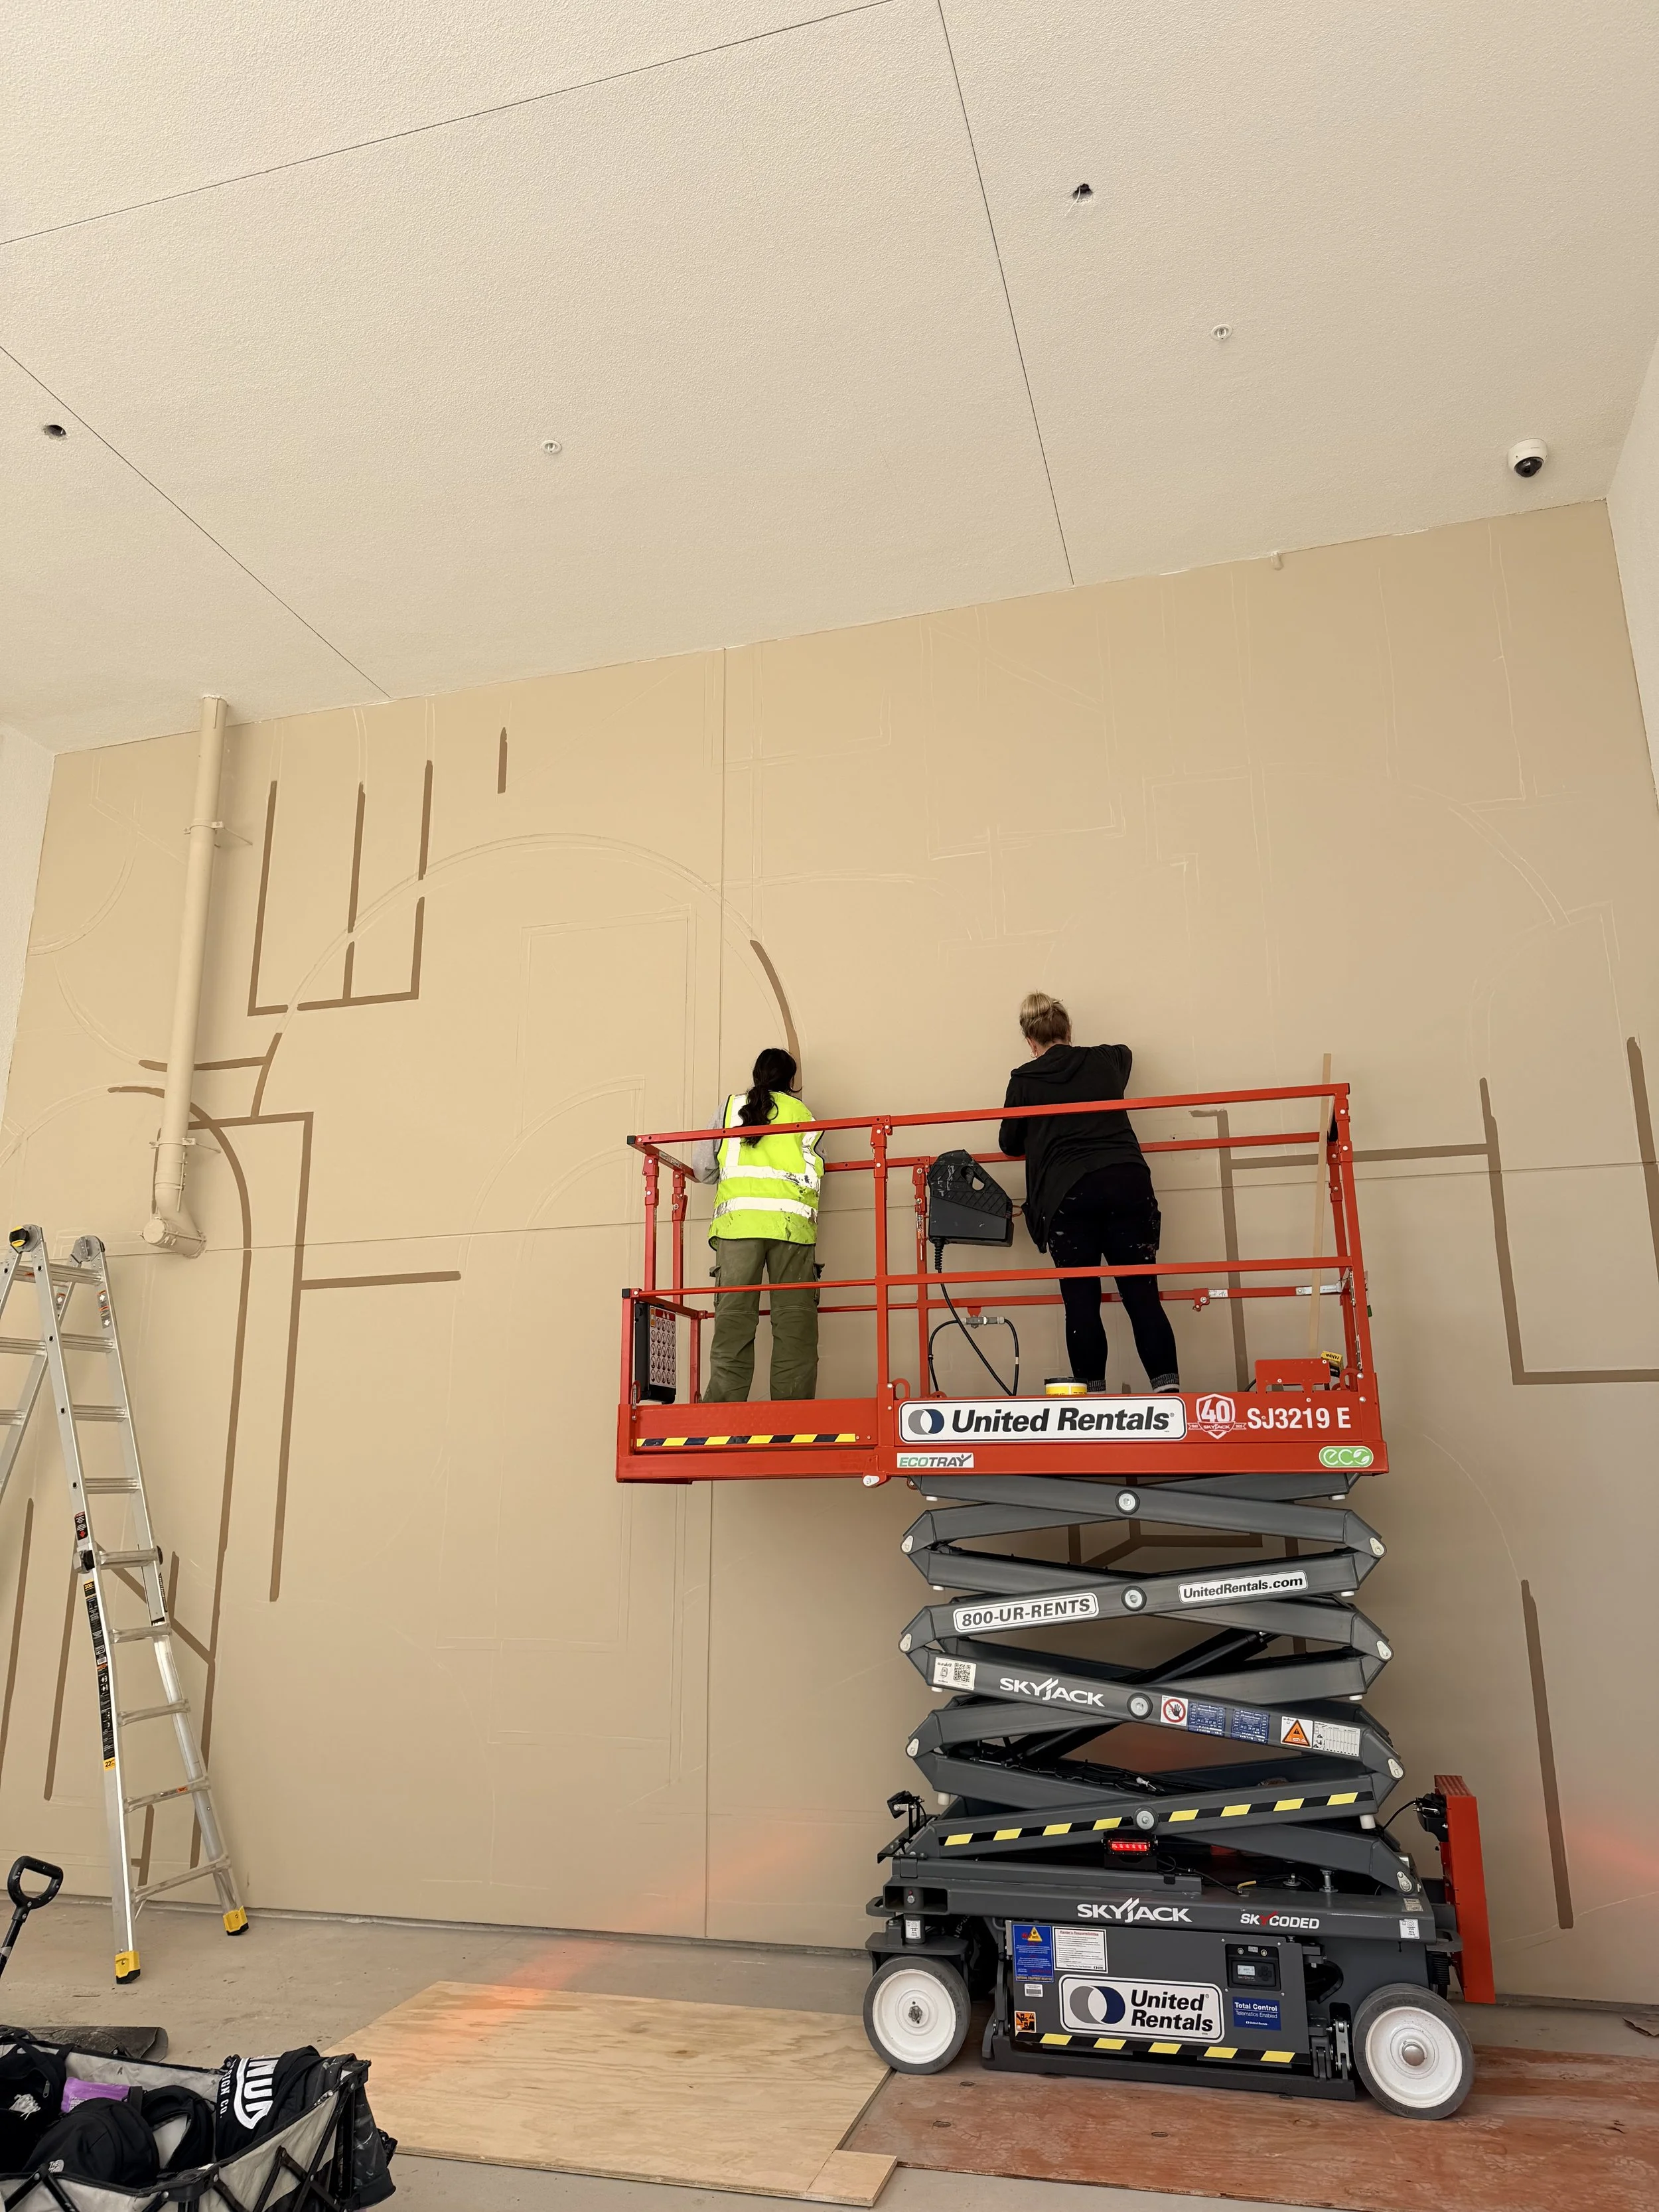
Once everything was laid out in chalk and pencil, we finally got to start painting. Because we only had the scissor lift for one day, we tackled the top section of this 20-foot-tall wall first and then worked our way down to keep things efficient and clean.
Even without tape, here are the four things we relied on to keep the lines razor-crisp:
Steady hands (lots of coffee + laser focus)
The pre-defined line widths
Keeping our levels close
Regular chalk and pencil cleanup
We brought the background paint for touch-ups and kept a stash of baby wipes with us to remove excess chalk and soften any pencil marks before the final pass.
Final Cleanup + Touchups
No tape? No problem.
After a few hours of diligently getting up close and personal with these lines, we did one last pass to wipe down any lingering chalk dust and make those edges look as clean as humanly possible. Pro tip: when doing a mural like this, choose opaque colors and try to purchase the high grade paint so you can avoid having to do multiple coats. This makes covering up errors quick and easy! The combo of the colors and the simple lines helped the mural to come together incredibly smoothly. Taking a step back and looking up, you’d never know not a single piece oftapewas taped!
After all the lines were in, we did one last wipe-down to remove any lingering chalk dust and make those edges look as clean as possible. Because the paint was opaque and the lines were simple, the mural came together incredibly smoothly.
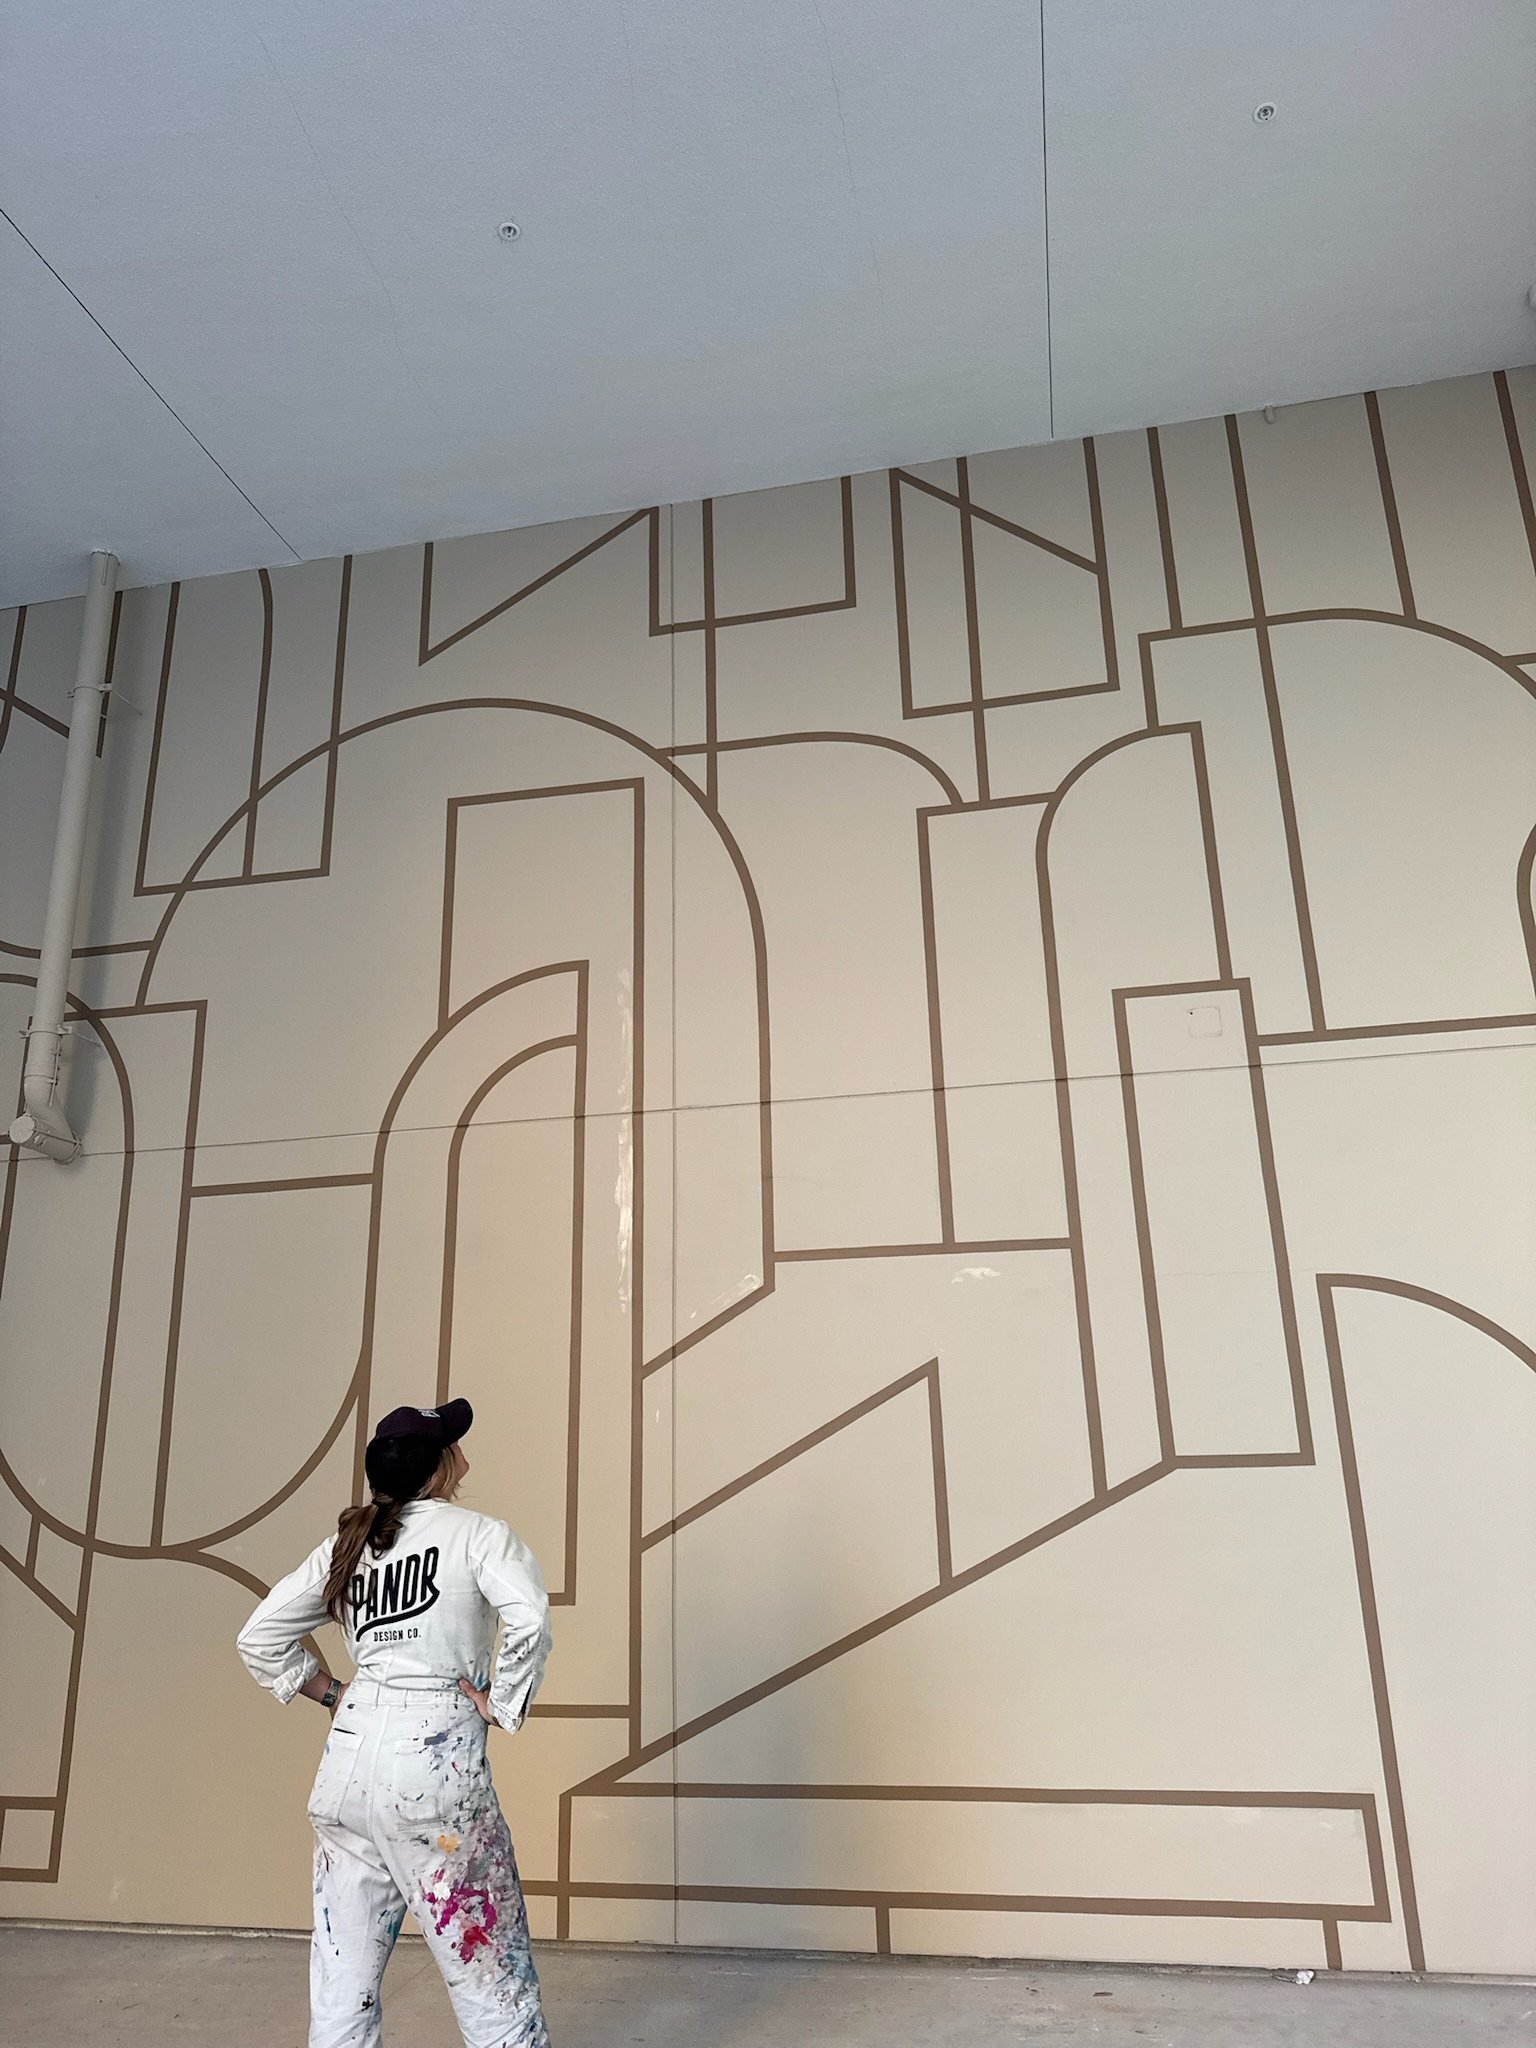
The End Result
Even though this mural looks simple from a distance, it still took planning, precision, teamwork, and a whole lot of measuring to make those clean lines happen without tape. The prep work was still of utmost importance, but if we had decided to tape this whole thing off prior to installing, we would have lost nearly half a day of painting - and had no time for that. Projects like this one remind me that mural artists are creative, and if we get creative we can make the mural process a whole lot simpler and more efficient in a pinch - and still walk away with a gorgeous, high quality product.
It was also a reminder of just how rewarding the process can be when everything just clicks - great design direction, a clear plan, and a dream team of painters. Huge thanks again to RSM Design for the beautiful concept and to Allison and Melissa for being the best painting partners out there! Another successful San Diego mural for the books!
If you’re curious about more behind-the-scenes process posts like this, check out The Blog and our Murals pages, where we are always updating with new mural tips, tricks, and resources.
Have you ever successfully painted straight lines with no tape? Drop your experience and any tips in the comment section and share with your fellow muralists!